To tile a bathroom wall, start by preparing the surface and selecting suitable tiles. Use tile adhesive for a strong bond, and grout for a finished look.
Tiling a bathroom wall enhances both aesthetics and functionality. Properly installed tiles can resist moisture and add a stylish touch to your space. This process involves careful planning and execution, ensuring that every tile aligns perfectly. Selecting the right materials is crucial for durability and design.
Whether you prefer ceramic, porcelain, or glass tiles, each option offers unique benefits. Tools like tile cutters, spacers, and trowels will make your project easier. Following a step-by-step approach helps achieve professional results, transforming your bathroom into a beautiful and inviting area. Embrace creativity and make your bathroom a reflection of your style.
Introduction To Bathroom Wall Tiling
Bathroom wall tiling transforms ordinary spaces into stunning retreats. The right tiles enhance beauty and functionality. They add style and durability to your bathroom. Choosing the right tiles can elevate your overall design.
The Impact Of Tiling On Bathroom Aesthetics
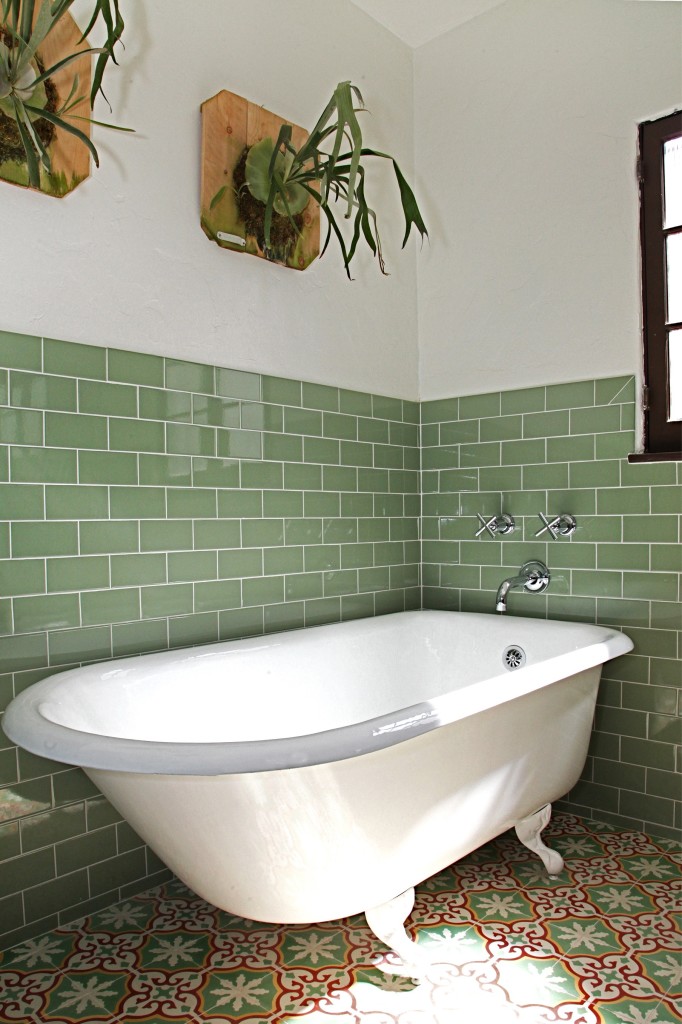
Tiles significantly influence the look of your bathroom. They come in various colors, patterns, and textures. Each choice can change the feel of the space.
- Color: Bright tiles create a vibrant atmosphere.
- Pattern: Unique designs can add personality.
- Texture: Glossy tiles reflect light, making rooms appear larger.
Tiles also allow for creative designs. You can mix and match to find your style. Transform a dull wall into a focal point with the right tiling.
Key Benefits Of Wall Tiles
Bathroom wall tiles offer many advantages. Here are some key benefits:
| Benefit | Description |
|---|---|
| Durability | Tiles resist moisture and wear over time. |
| Easy Maintenance | Cleaning tiles is quick and simple. |
| Water Resistance | Tiles protect walls from water damage. |
| Variety | Countless styles fit any design theme. |
| Increased Home Value | Quality tiles enhance property appeal. |
Choosing wall tiles is a smart investment. They improve both beauty and functionality.
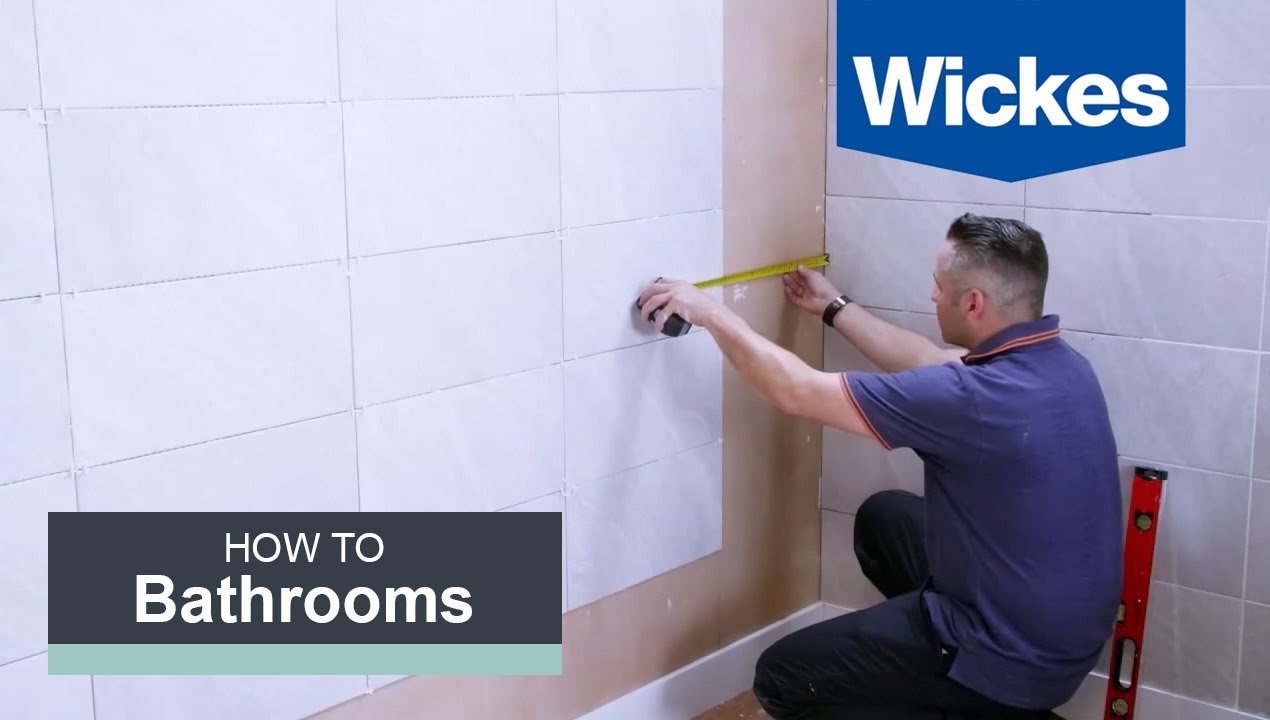
Credit: m.youtube.com
Choosing The Right Tiles
Selecting tiles for your bathroom wall can be exciting. The right tiles enhance beauty and functionality. Many options exist, but two popular types stand out: ceramic and porcelain. Understanding their differences helps in making an informed choice.
Ceramic Vs. Porcelain: A Comparison
Ceramic and porcelain tiles have unique features. Below is a comparison table to help you decide:
| Feature | Ceramic Tiles | Porcelain Tiles |
|---|---|---|
| Water Resistance | Moderate | High |
| Durability | Less durable | More durable |
| Cost | Generally cheaper | Generally more expensive |
| Design Variety | Wide range | Limited range |
| Installation | Easy to install | Requires skill |
Ceramic tiles are perfect for low-traffic areas. They come in various designs and colors. Porcelain tiles work well in wet areas. They resist moisture and stains better than ceramic tiles.
Color And Texture Selection
Choosing colors and textures impacts your bathroom’s mood. Here are some tips:
- Light Colors: Create an airy feel.
- Dark Colors: Add drama and elegance.
- Patterns: Use bold patterns for a statement.
- Textures: Mix smooth and textured tiles for depth.
Consider these factors for color and texture:
- Match tiles with existing fixtures.
- Think about the size of the bathroom.
- Choose non-slip tiles for safety.
Experiment with samples before making a final choice. Visualize how each option looks in your space.
Tools And Materials Needed
Before tiling your bathroom wall, gather the right tools and materials. This ensures a smooth and successful project. Having everything ready saves time and effort during installation.
Essential Tiling Tools
- Trowel: Use a notched trowel for spreading adhesive.
- Tile Cutter: A manual or electric cutter makes precise cuts.
- Level: A level ensures tiles are straight and even.
- Sponge: Use a damp sponge for cleaning tiles.
- Measuring Tape: Measure areas accurately before cutting.
- Grout Float: Apply grout smoothly with a float.
- Safety Gear: Wear gloves and goggles for protection.
Preparing Your Workspace
Clear the area where you will work. Remove old tiles and debris. Ensure walls are clean and dry. This step is crucial for tile adhesion.
Set up a workspace with good lighting. A well-lit area helps you see details better. Use a sturdy table for cutting tiles.
| Task | Details |
|---|---|
| Clear Area | Remove old tiles and clean surfaces. |
| Check Walls | Ensure walls are straight and smooth. |
| Gather Tools | Collect all essential tools and materials. |
| Set Up Lighting | Ensure workspace has adequate lighting. |
Following these steps prepares you for a successful tiling project. A well-prepared workspace enhances your efficiency and results.
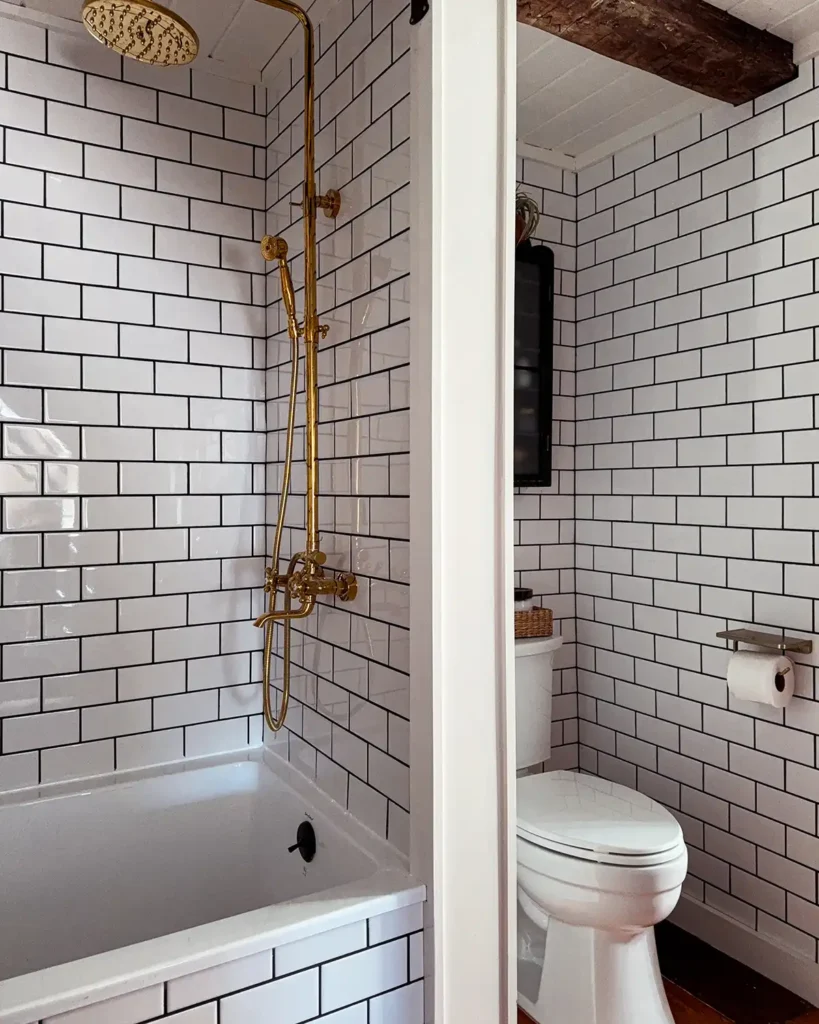
:strip_icc()/white-bathroom-with-subway-tile-and-patterned-floor-tile-b6dfc43b-53dbb1a9bd214c2699c94c72f76f0aca.jpg)
Credit: www.bhg.com
Measuring And Planning Your Layout
Measuring and planning are key steps before tiling your bathroom wall. Accurate measurements save time and reduce waste. A well-thought-out layout enhances the overall look. Follow these steps to ensure a successful tiling project.
Calculating Tile Quantity
First, measure the wall area. Use a tape measure for accuracy. Record the height and width of each wall.
Use this formula to find the area:
Area = Height x WidthNext, consider the tile size. Here’s a simple table to help:
| Tile Size | Area per Tile (sq ft) |
|---|---|
| 12″ x 12″ | 1 |
| 6″ x 6″ | 0.25 |
| 4″ x 4″ | 0.111 |
Divide the total wall area by the area per tile. This gives you the number of tiles needed. Always buy extra tiles for mistakes or future repairs. Aim for about 10% more tiles.
Design Patterns And Layout Tips
Choose a tile pattern that fits your style. Popular patterns include:
- Grid: Simple and classic.
- Diagonal: Adds a dynamic look.
- Herringbone: Offers a unique design.
Start laying tiles from the center of the wall. This creates balance. Use a level to ensure straight lines. Consider these tips:
- Use spacers for even grout lines.
- Cut tiles as needed for edges.
- Dry fit the tiles before adhesive.
Visualize your layout with a sketch. This helps in making decisions. A clear plan reduces mistakes.
Preparation Steps Before Tiling
Preparing a bathroom wall for tiling is crucial. Proper preparation ensures that tiles adhere well and last longer. Follow these steps for the best results.
Wall Surface Preparation
Start with cleaning the wall surface. Remove old paint, dirt, and grease. Use a scraper or a wire brush for tough spots.
- Check for any damage on the wall.
- Fill holes and cracks with a patching compound.
- Allow the compound to dry completely.
Next, ensure the wall is smooth. Sand any rough areas to create an even surface. Use a level to check for flatness. Adjust as needed.
Applying A Waterproofing Membrane
A waterproofing membrane is essential in a bathroom. It protects the wall from moisture damage.
- Choose a high-quality waterproofing membrane.
- Apply the membrane with a paint roller or brush.
- Cover the entire wall evenly.
- Pay special attention to corners and edges.
- Allow the membrane to dry completely before tiling.
This step prevents water from seeping behind the tiles. It helps in maintaining the integrity of your bathroom walls.
Credit: www.angiesroost.com
The Tiling Process
The tiling process can transform your bathroom. It combines skill and creativity. Follow these steps to achieve a stunning tile wall.
Mixing And Applying Adhesive
Proper adhesive is key to a successful tiling project. Choose a thin-set mortar or mastic based on your tiles. Here’s how to mix and apply it:
- Read the manufacturer’s instructions.
- Use a clean bucket for mixing.
- Measure water and adhesive accurately.
- Mix until smooth with a paddle mixer.
Apply the adhesive using a notched trowel. Hold it at a 45-degree angle. This helps create ridges. Ridges support tile placement. Spread adhesive on a small area first.
Setting Tiles And Cutting As Needed
Now it’s time to set the tiles. Start from the bottom corner of the wall.
- Press each tile firmly into the adhesive.
- Use spacers to maintain even gaps.
- Check alignment with a level.
For cutting tiles, use a tile cutter or wet saw. Measure carefully before cutting. Follow these steps:
- Mark the tile where it needs to be cut.
- Use the tile cutter to score the tile.
- Snap the tile along the scored line.
Keep tiles aligned and ensure all gaps are even. This ensures a professional look.
Grouting And Finishing Touches
Grouting is essential for a polished bathroom wall. It fills the gaps between tiles and enhances their beauty. Proper finishing adds a professional touch to your work.
Choosing Grout
Selecting the right grout is crucial. Here are key factors to consider:
- Type: Choose between sanded and unsanded grout.
- Color: Match grout color with your tiles.
- Water Resistance: Opt for waterproof grout for wet areas.
- Durability: Choose high-quality grout for long-lasting results.
Consider these types of grout:
| Grout Type | Best For |
|---|---|
| Sanded Grout | Large joints (1/8 inch or more) |
| Unsanded Grout | Small joints (less than 1/8 inch) |
| Epoxy Grout | High-moisture areas |
Applying And Cleaning Grout
Applying grout requires care and precision. Follow these steps for best results:
- Mix grout according to package instructions.
- Use a grout float to apply grout diagonally.
- Press grout into gaps firmly.
- Remove excess grout with the float.
Cleaning grout is vital. After applying, wait about 15-30 minutes. Then, wipe tiles with a damp sponge. Avoid digging into the grout lines. Rinse the sponge often.
Final touches enhance the overall look:
- Allow grout to cure for 24-48 hours.
- Seal grout to protect from moisture.
- Regularly clean grout for longevity.
Following these steps ensures a stunning bathroom wall.
Maintenance And Care
Keeping your bathroom tiles clean and well-maintained enhances their beauty. Regular care prevents damage and prolongs their lifespan. Follow these tips for effective maintenance.
Routine Cleaning Tips
Regular cleaning helps keep tiles looking new. Use these simple methods:
- Daily Wipe Down: Use a soft cloth to wipe tiles.
- Weekly Cleaning: Mix warm water and mild soap. Mop the tiles.
- Monthly Deep Clean: Use a gentle tile cleaner. Scrub with a soft brush.
For stubborn stains, try a baking soda paste:
- Mix baking soda with water to form a paste.
- Apply it to the stain and let it sit for 10 minutes.
- Gently scrub with a soft cloth.
Avoid harsh chemicals. They can damage the tile surface.
Repairing Damaged Tiles
Damaged tiles can ruin the look of your bathroom. Quick repairs are essential.
Follow these steps to fix damaged tiles:
- Identify the Damage: Check for cracks or chips.
- Gather Supplies: You need tile adhesive, a spatula, and grout.
- Apply Adhesive: Use a spatula to spread adhesive on the back of the tile.
- Press Firmly: Place the tile back in position. Hold for a few seconds.
- Regrout: Fill gaps with grout. Smooth it out with a wet sponge.
For large cracks, consider replacing the entire tile. This ensures a uniform look.
Frequently Asked Questions
Can I Tile My Own Bathroom Wall?
Yes, you can tile your own bathroom wall. Ensure you have the right tools and materials. Follow a step-by-step guide for best results. Take your time with measurements and cuts. Proper preparation and technique lead to a professional-looking finish. Enjoy the process and your new tiles!
Can You Tile A Bathroom Wall Over Drywall?
Tiling a bathroom wall over drywall is not recommended. Drywall can absorb moisture, leading to mold and damage. Use cement backer board instead. It offers better moisture resistance and durability for tile installations. Always ensure proper waterproofing for long-lasting results.
Should You Tile Entire Bathroom Walls?
Tiling entire bathroom walls offers a sleek, modern look and protects against moisture. It simplifies cleaning and enhances durability. Consider your budget and design preferences before deciding. Partial tiling can also create a stylish effect while saving costs. Choose what best fits your space and lifestyle.
How Do You Prepare A Bathroom Wall Before Tiling?
Clean the wall thoroughly to remove dust and grease. Repair any cracks or holes with patching compound. Ensure the surface is dry and level. Apply a waterproof primer for moisture protection. Finally, measure and mark guidelines for tile placement to ensure accuracy.
Conclusion
Tiling a bathroom wall can transform the space dramatically. With careful planning and the right materials, you can achieve a stunning look. Don’t rush the process; take your time to ensure precision. Enjoy the satisfaction of a job well done.
Your newly tiled bathroom wall will enhance both beauty and functionality.