To change a bathroom exhaust fan, first turn off the power at the circuit breaker. Next, remove the old fan and install the new one by following the manufacturer’s instructions.
Changing a bathroom exhaust fan is essential for maintaining air quality and preventing mold growth. Over time, fans can wear out or become less efficient, leading to increased humidity and unpleasant odors. This simple task can enhance your bathroom’s ventilation and promote a healthier environment.
Whether you’re upgrading to a quieter model or replacing a broken fan, the process is manageable with the right tools. This guide will walk you through the necessary steps to ensure a successful installation, keeping your bathroom fresh and comfortable for years to come.
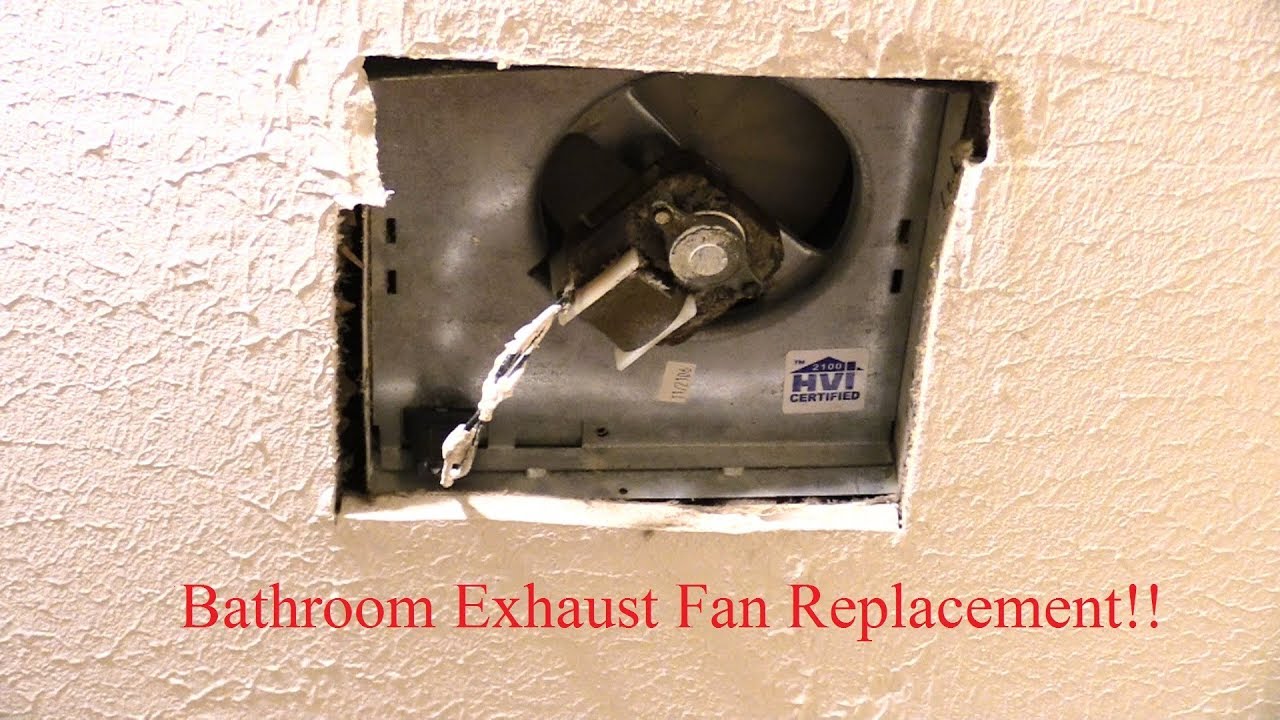
Credit: m.youtube.com
Introduction To Bathroom Exhaust Fan Replacement
A bathroom exhaust fan plays a crucial role in maintaining air quality. It removes moisture and odors. Over time, fans can wear out. Knowing when to replace your fan is essential for comfort and hygiene.
Importance Of A Functional Exhaust Fan
A functional exhaust fan offers several benefits:
- Prevents Mold Growth: Moisture can lead to mold. Mold can harm health.
- Reduces Odors: Fans help eliminate unpleasant smells quickly.
- Improves Air Quality: Circulating air keeps the bathroom fresh.
- Enhances Comfort: A well-ventilated space feels more pleasant.
Signs It’s Time For A Change
Recognizing the signs of a failing exhaust fan is key. Here are common indicators:
- Weak Airflow: Notice reduced air movement?
- Strange Noises: Unusual sounds may signal issues.
- Frequent Breakdowns: Repairing often? It’s time for a new one.
- Humidity Issues: Excess moisture after showers indicates failure.
- Old Age: Fans over 10 years old may need replacement.
Tools And Materials Needed
Changing a bathroom exhaust fan requires specific tools and materials. Having the right items makes the job easier and quicker. Below, we outline everything you need to get started.
Basic Toolkit Requirements
- Screwdriver Set: Both flathead and Phillips types.
- Pliers: Useful for gripping and twisting wires.
- Wire Strippers: Essential for preparing electrical wires.
- Tape Measure: Ensures the correct fit for the new fan.
- Level: Helps to install the fan straight.
- Drill: Needed for any new holes in the ceiling.
- Safety Goggles: Protects your eyes during the process.
- Gloves: Keeps your hands safe and clean.
Selecting The Right Replacement Fan
Choosing the correct replacement fan is vital. Consider these factors:
| Factor | Description |
|---|---|
| Size: | Match the existing fan’s size for an easy fit. |
| CFM Rating: | Choose a fan with the right airflow for your bathroom size. |
| Noise Level: | Look for a fan with a low sone rating for quiet operation. |
| Style: | Select a style that matches your bathroom decor. |
Check reviews to find reliable brands. Ask for recommendations if needed.
Safety Precautions Before Starting
Changing a bathroom exhaust fan can be simple. Follow safety precautions to ensure a smooth process. Taking these steps protects you from accidents and injuries.
Turning Off The Power
Before you start any work, turn off the power to the bathroom exhaust fan. This step is crucial for safety.
- Locate your home’s main electrical panel.
- Find the circuit breaker for the bathroom.
- Switch the breaker to the “off” position.
Use a voltage tester to confirm the power is off. Test the wires connected to the fan. This step ensures no electrical current is present.
Wearing Protective Gear
Protect yourself with the right gear. Use the following items:
- Safety goggles to protect your eyes.
- Gloves to keep your hands safe.
- Dust mask to avoid inhaling dust particles.
Wearing this gear keeps you safe while working in potentially hazardous conditions.
Removing The Old Exhaust Fan
Removing your old bathroom exhaust fan is a straightforward process. Follow these steps to ensure a smooth removal. Safety first! Always turn off the power before starting.
Detaching The Cover
Start by removing the fan cover. This step is simple:
- Locate the clips or screws holding the cover.
- Use a screwdriver to unscrew, if necessary.
- Gently pull the cover away from the fan.
Check for any dust or debris. Clean the area if needed. A clean workspace helps during installation.
Unscrewing And Disconnecting The Fan
Next, remove the fan unit itself. Follow these steps:
- Look for screws securing the fan in place.
- Use a screwdriver to remove each screw.
- Carefully pull the fan out of the housing.
Now, disconnect the wiring:
| Wire Color | Function |
|---|---|
| Black | Power |
| White | Neutral |
| Green or Bare | Ground |
Carefully disconnect the wires. Note their positions for the new fan. Secure the wires with wire nuts if needed.
Preparing The Space For New Fan Installation
Preparing your bathroom for a new exhaust fan is crucial. Proper preparation ensures a smooth installation process. Follow these steps to get your space ready.
Cleaning The Vent
Before installing your new fan, clean the existing vent thoroughly. Dust and debris can affect performance. Here’s how to do it:
- Turn off the power to the fan.
- Remove the old fan cover.
- Use a vacuum or a damp cloth to clean the vent.
- Check for any blockages in the duct.
- Ensure the vent is clear for air flow.
Cleaning the vent not only helps with installation but also improves air quality. A clean vent maximizes the fan’s efficiency.
Adjusting The Ceiling Hole If Necessary
After cleaning, check the ceiling hole size. The new fan may need a different hole size. Follow these steps to adjust:
- Measure the new fan’s dimensions.
- Mark the ceiling where adjustments are needed.
- Use a saw to enlarge or reduce the hole.
- Ensure the edges are smooth and free of debris.
Proper hole size is vital for a secure fit. A well-fitted fan operates quietly and efficiently.
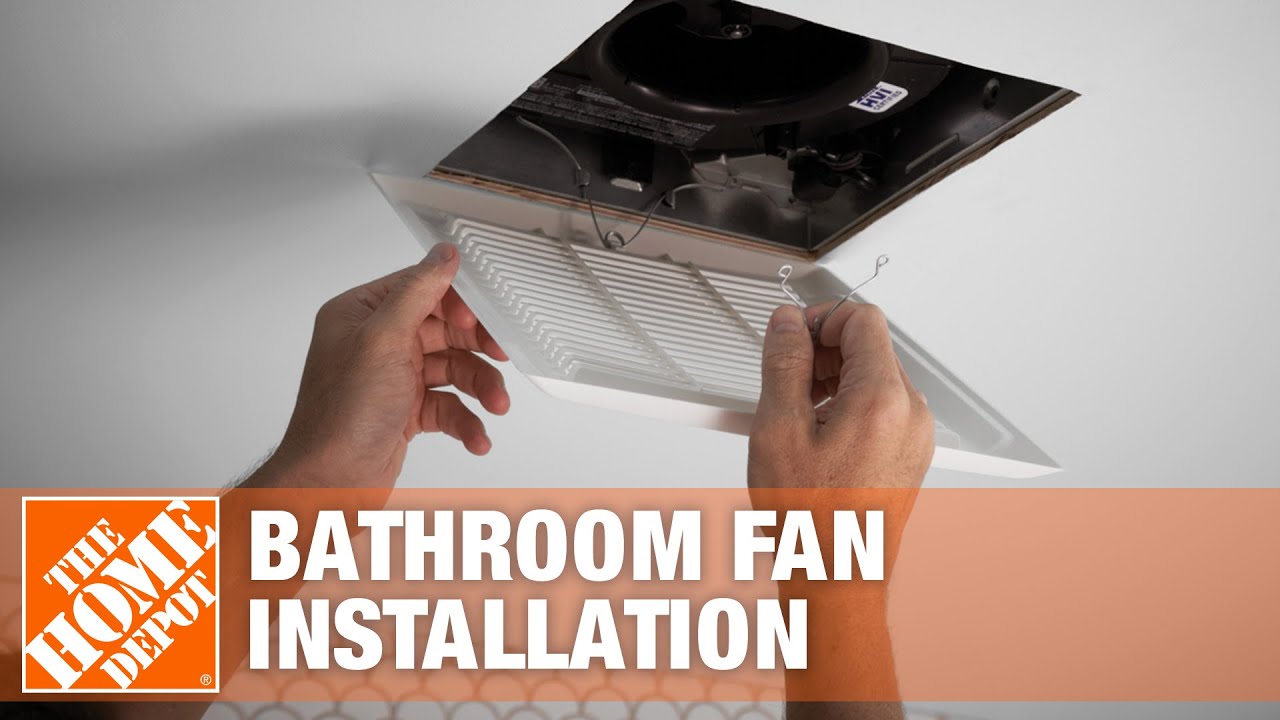
Installing The New Bathroom Exhaust Fan
Installing a new bathroom exhaust fan can improve ventilation. Proper airflow reduces moisture and prevents mold. Follow these simple steps for a successful installation.
Mounting The Fan
Start by preparing the area for the new fan. Here’s how:
- Turn off the power to the bathroom.
- Remove the old fan carefully.
- Check the size of the new fan.
- Align the new fan with the existing hole.
Ensure the fan fits snugly. Use a level to check alignment. Adjust as necessary for a secure fit.
Connecting The Wiring
Next, connect the wiring to the new fan. Follow these steps:
- Strip the ends of the wires.
- Connect the black wire to the black wire.
- Connect the white wire to the white wire.
- Attach the green or bare wire to the grounding screw.
Use wire nuts to secure connections. Ensure no bare wires are exposed. This promotes safety and prevents shorts.
Securing The Fan To The Ceiling
Finally, secure the fan to the ceiling. Use the following steps:
- Align the fan with the mounting brackets.
- Use screws to attach the fan to the ceiling.
- Check for stability and tightness.
Once secure, install the fan cover. Turn the power back on and test the fan. Your bathroom will now have better ventilation!
Finishing Touches And Testing
After installing your new bathroom exhaust fan, it’s time for the final steps. You need to reattach the cover, restore power, and test the fan. Each step ensures proper function and safety.
Reattaching The Cover
Follow these simple steps to reattach the fan cover:
- Align the cover with the fan unit.
- Secure it with screws or clips.
- Ensure it sits flush against the ceiling.
Check for any gaps. A tight fit prevents air leaks.
Turning The Power Back On
Restoring power is crucial for testing the fan:
- Locate the circuit breaker.
- Flip the switch for the bathroom fan.
- Check for any signs of power, like lights.
Stay cautious. Ensure your hands are dry before touching the breaker.
Testing The Fan
Now, it’s time to test your new fan:
Follow these steps:
- Turn on the fan using the switch.
- Listen for a steady hum.
- Check airflow by placing your hand near the vent.
Good airflow indicates proper installation. If the fan is noisy or weak, double-check your connections.
:max_bytes(150000):strip_icc()/how-to-install-a-bathroom-exhaust-fan-4147975-hero-2d6143520dfc425ba6b0142bf78f0549.jpg)
Credit: www.thespruce.com
Maintenance Tips For Bathroom Exhaust Fans
Proper maintenance of your bathroom exhaust fan ensures it works efficiently. Regular care extends its lifespan and improves air quality. Follow these tips to keep your fan in top shape.
Regular Cleaning
Cleaning your exhaust fan is essential. Dust and grime can block airflow. Here’s how to clean it:
- Turn off the power to the fan.
- Remove the cover. Most covers snap off or have screws.
- Wash the cover with soapy water.
- Use a vacuum or a damp cloth to clean the fan blades.
- Reattach the cover and restore power.
Perform this cleaning every three months. This keeps the fan efficient and prevents odors.
Checking For Wear And Tear
Inspect your exhaust fan regularly. Look for signs of wear and tear:
- Unusual noises when operating
- Weak airflow
- Visible rust or corrosion
- Damaged wiring or connections
Addressing these issues early can prevent bigger problems. Replace worn parts quickly to ensure safety.
When To Seek Professional Help
Some issues require expert assistance. Consider professional help in these cases:
- If the fan does not work at all
- Constant tripping of circuit breakers
- Unresolved unusual noises
- Installation of a new fan model
Professionals have the tools and knowledge for safe repairs. They ensure everything meets safety standards.
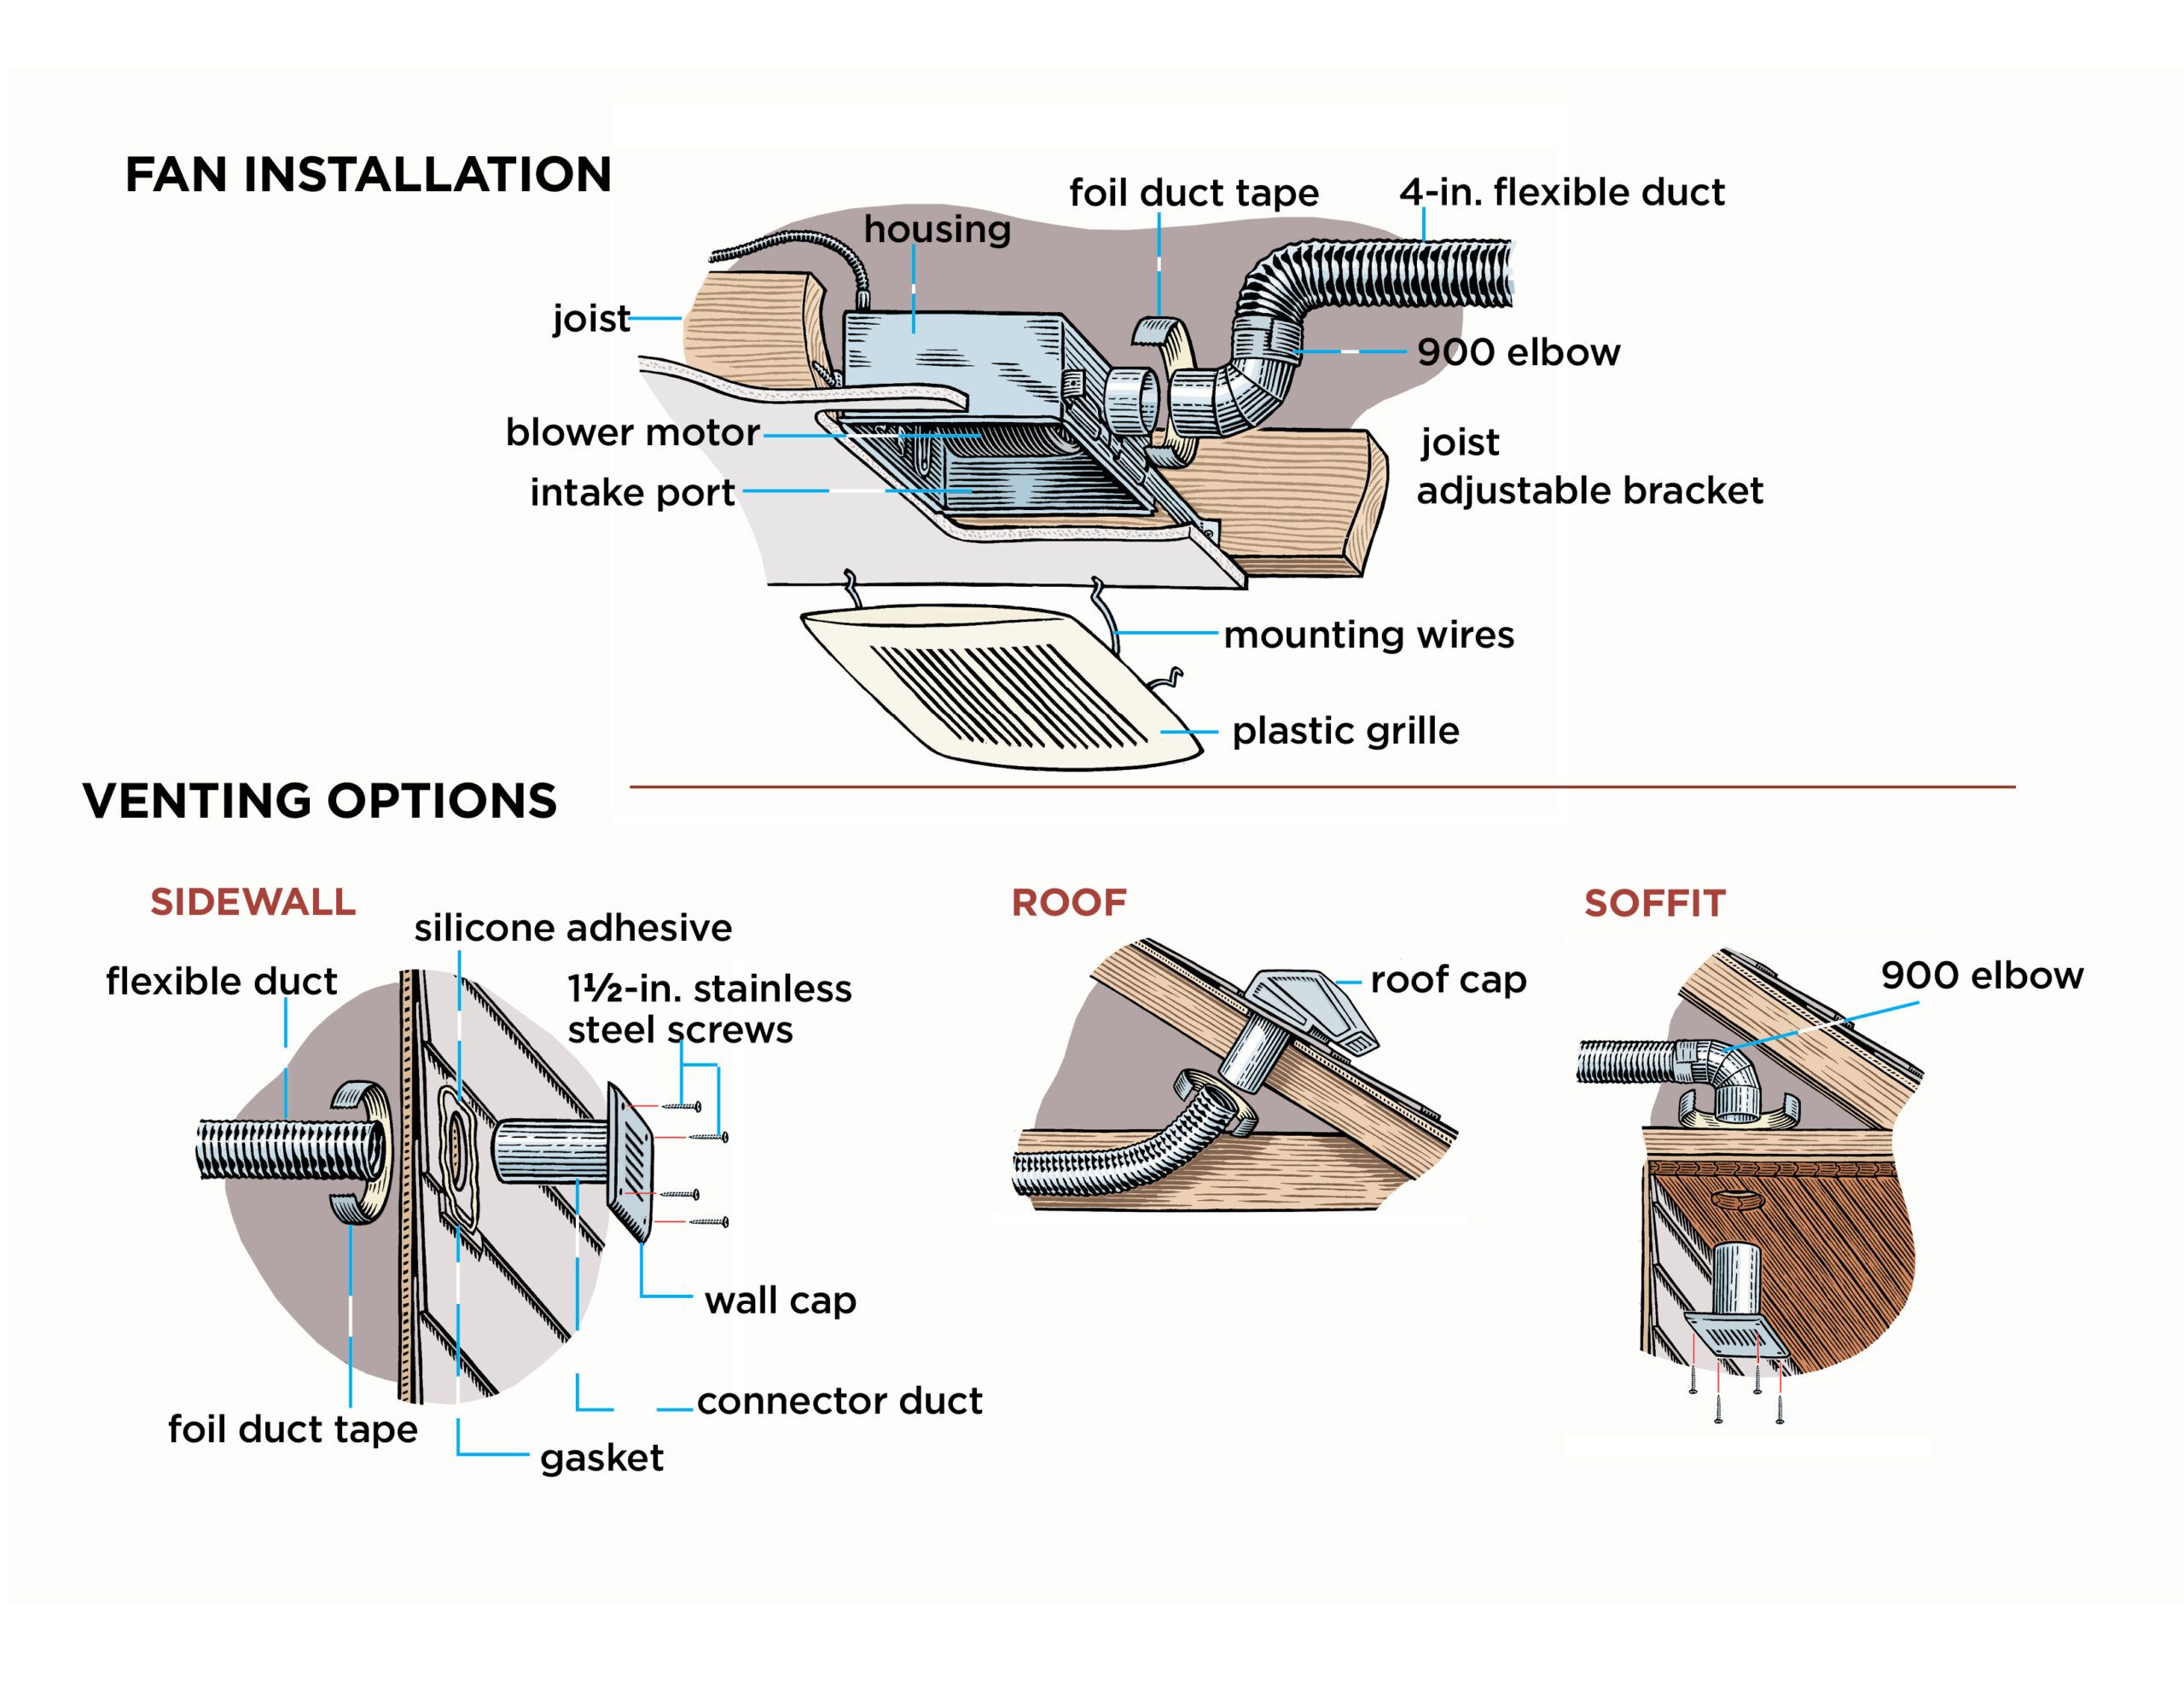
Credit: www.thisoldhouse.com
Frequently Asked Questions
Can I Replace A Bathroom Fan Myself?
Yes, you can replace a bathroom fan yourself. Ensure you turn off the power first. Remove the old fan, connect the new one, and secure it in place. Follow the manufacturer’s instructions for wiring and installation. Proper safety precautions are essential for a successful replacement.
Is It Difficult To Replace A Bathroom Vent Fan?
Replacing a bathroom vent fan is relatively easy for DIYers. Basic tools and wiring knowledge are required. Follow the manufacturer’s instructions carefully. Expect to spend a couple of hours on the task. If you’re unsure, consider hiring a professional for assistance.
Can You Replace A Bathroom Fan Without An Electrician?
Yes, you can replace a bathroom fan without an electrician if you have basic electrical knowledge. Always turn off the power first. Follow the manufacturer’s instructions for installation. Ensure proper ventilation and check local codes for compliance. Safety should be your top priority during the process.
What To Know When Replacing A Bathroom Exhaust Fan?
Consider the fan’s CFM rating for effective ventilation. Choose a model that fits your existing ductwork. Ensure it operates quietly to avoid noise disturbance. Check for energy efficiency to save on utility bills. Installation height is crucial for optimal performance.
Always follow manufacturer guidelines during installation.
Conclusion
Changing your bathroom exhaust fan can greatly improve air quality and reduce humidity. Following the steps outlined in this guide ensures a smooth installation process. Regular maintenance of your exhaust fan will keep your bathroom fresh and mold-free. Take action today for a healthier home environment and enjoy the benefits of proper ventilation.