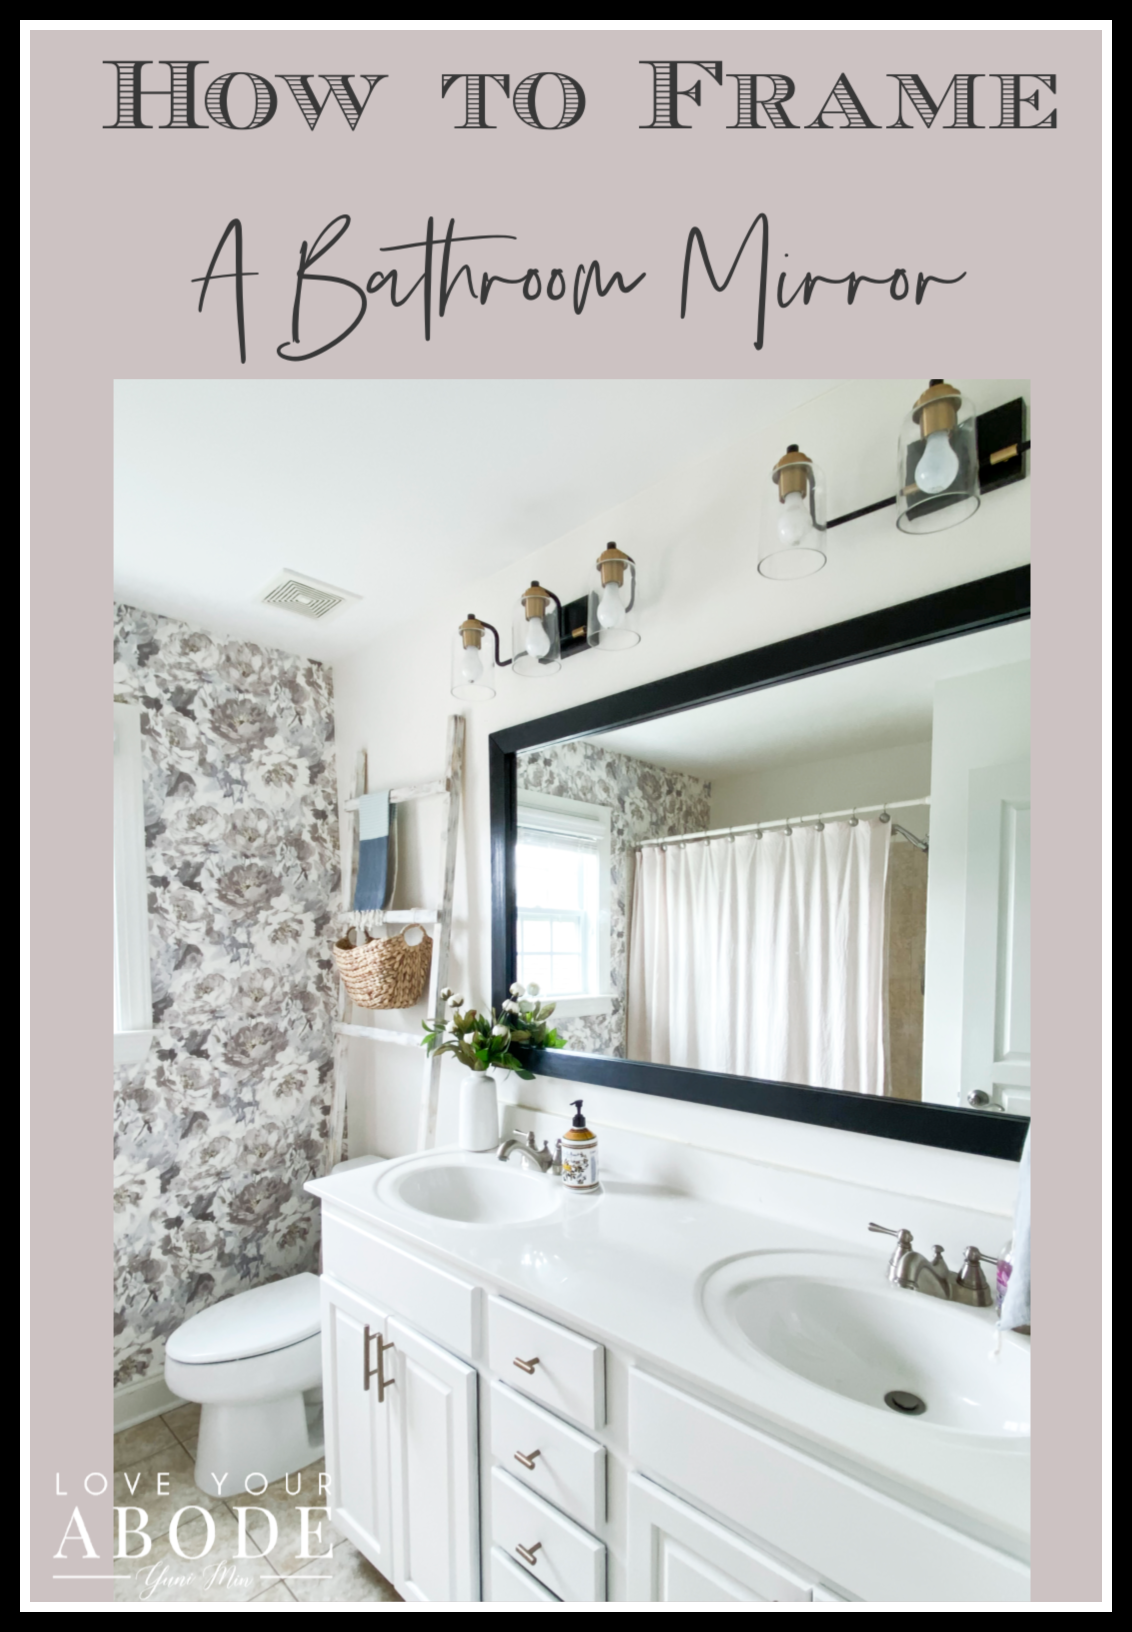
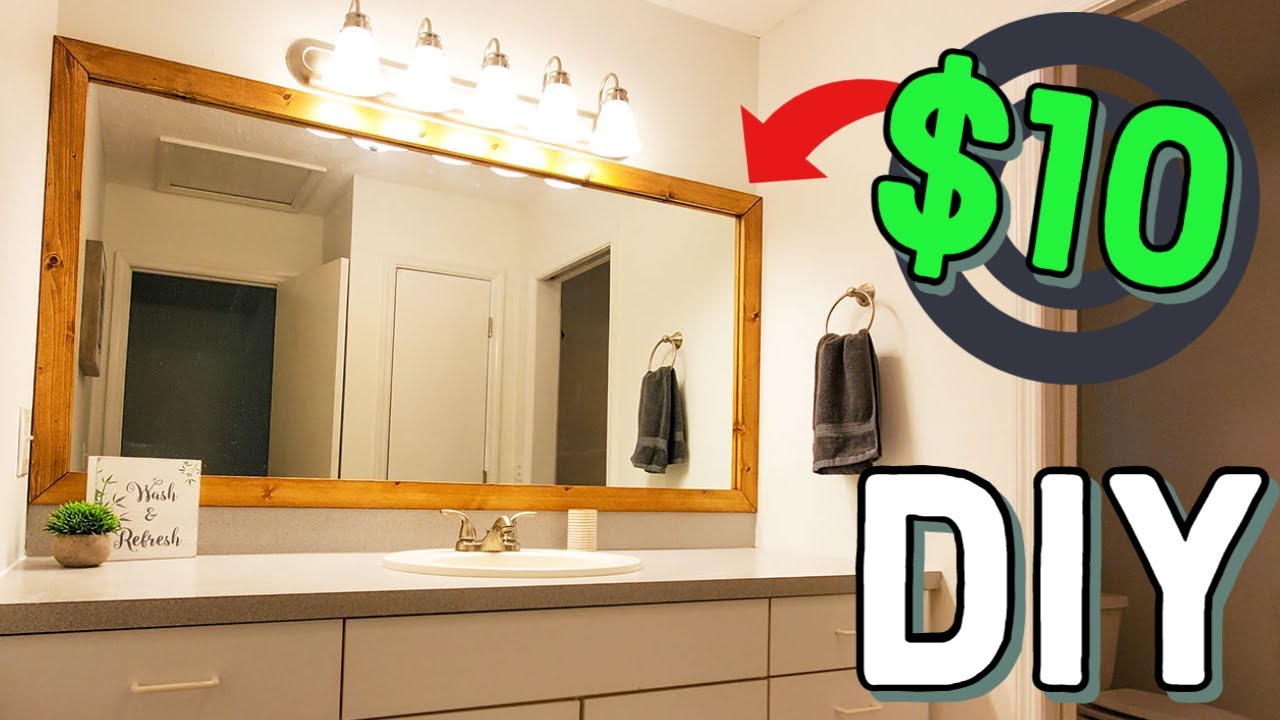
Framing a bathroom mirror yourself is a straightforward project. You’ll need basic tools, materials, and a design plan to get started.
Framing a bathroom mirror enhances its aesthetic appeal and gives your space a polished look. DIY framing allows you to customize the style to match your bathroom décor, whether modern or rustic. This project can be completed in a few hours, making it an excellent weekend task.
With the right materials and a little creativity, you can transform a plain mirror into a stunning focal point. This guide will walk you through the steps and provide tips for achieving a professional finish. Dive into this rewarding project and elevate your bathroom’s overall ambiance.
Credit: m.youtube.com
Introduction To Diy Mirror Framing
Framing a bathroom mirror can transform your space. It adds style and character. DIY mirror framing is a fun project. It allows you to personalize your bathroom easily.
Why Choose Diy?
DIY projects have many benefits. Here are some reasons to consider:
- Cost-Effective: Save money on labor costs.
- Creative Control: Choose your style and materials.
- Skill Development: Learn new skills while crafting.
- Personal Satisfaction: Enjoy the pride of completing a project.
Impact On Bathroom Aesthetics
Framing a mirror enhances the overall look of your bathroom. A well-framed mirror can:
- Make the space appear larger.
- Add elegance and sophistication.
- Complement existing decor.
- Serve as a focal point in the room.
Consider different styles like rustic, modern, or vintage. The right frame will elevate your bathroom’s design.
| Frame Style | Best For |
|---|---|
| Rustic | Farmhouse or country styles |
| Modern | Sleek and contemporary spaces |
| Vintage | Classic and timeless designs |
Choose a frame that matches your personality. Transform your bathroom into a stunning retreat.
Materials And Tools Required
Framing a bathroom mirror can enhance its beauty. Choosing the right materials and tools makes the project easier. Gather everything before starting. This ensures a smooth workflow.
Choosing The Right Frame Material
Picking the right frame material is crucial. Consider the bathroom’s style and environment. Here are some common materials:
- Wood: Classic look, easy to customize.
- Metal: Modern feel, durable and sleek.
- Plastic: Lightweight, affordable, and water-resistant.
- Composite: Cost-effective, mimics wood or metal.
Think about the finish. Glossy finishes reflect light well. Matte finishes offer a soft touch.
Essential Tools For The Project
Gather these tools to frame your mirror effectively:
| Tool | Purpose |
|---|---|
| Miter Saw | For cutting frame pieces at angles. |
| Measuring Tape | To measure mirror and frame dimensions. |
| Level | To ensure the frame is straight. |
| Nail Gun | For quick and secure assembly. |
| Wood Glue | Provides extra bond to the frame. |
| Sandpaper | Smooths rough edges of the frame. |
| Paint or Stain | Adds color and protection to the frame. |
Having these tools ready makes the job easier. Ensure safety gear is available, such as goggles and gloves.
Measuring And Planning
Measuring and planning are essential steps in framing a bathroom mirror. Proper measurements ensure a perfect fit. A well-planned project saves time and reduces mistakes.
Calculating The Perfect Dimensions
Start by measuring the mirror’s height and width. Use a tape measure for accuracy. Record these measurements in a notebook.
Consider the following factors:
- Wall Space: Measure the area around the mirror.
- Frame Width: Decide how wide you want the frame.
- Mirror Height: Ensure it fits well above the sink.
Use this formula to calculate dimensions:
| Dimension | Calculation |
|---|---|
| Frame Width | Mirror Width + 2 × Frame Width |
| Frame Height | Mirror Height + 2 × Frame Height |
Visualizing The End Result
Visualization helps in planning the design. Sketch the frame on paper. This shows how it will look on the wall.
Consider these design elements:
- Frame color that matches your bathroom.
- Style: modern, rustic, or traditional.
- Details: carvings or smooth finishes.
Using painter’s tape, outline the frame’s size on the wall. Step back and see how it looks. Adjust as needed before cutting materials.
Preparing The Mirror And Frame
Preparing your mirror and frame is crucial for a successful DIY project. This section covers two important steps: cleaning the mirror surface and cutting and sanding the frame. Follow these steps for the best results.
Cleaning The Mirror Surface
Start with a clean mirror. A clear surface ensures a smooth finish. Use the following steps to clean your mirror:
- Gather your supplies: glass cleaner and a microfiber cloth.
- Spray the glass cleaner on the mirror.
- Wipe with the microfiber cloth in a circular motion.
- Check for streaks. Repeat if necessary.
Make sure the mirror is completely dry before framing. Any moisture can ruin your frame’s adhesion.
Cutting And Sanding The Frame
Now focus on the frame. Cutting and sanding it correctly makes a big difference. Follow these steps:
- Choose your materials: wood, metal, or PVC.
- Measure the dimensions of the mirror.
- Mark the cutting lines on the frame material.
Use a saw to cut along the lines. Ensure your cuts are straight. Sand the edges to prevent splinters. Use fine-grit sandpaper for a smooth finish.
| Tool | Purpose |
|---|---|
| Glass Cleaner | To clean the mirror surface |
| Microfiber Cloth | To wipe the mirror without scratching |
| Saw | To cut the frame material |
| Sandpaper | To smooth the edges of the frame |
Completing these steps prepares the mirror and frame for a stunning look. Enjoy your DIY project!
Assembling The Frame
Assembling the frame for your bathroom mirror can be fun and rewarding. This step adds a personal touch to your decor. Follow these simple steps to ensure a perfect fit.
Attaching The Corners
Start by preparing the corners of your frame. Use these materials:
- Wood glue
- Corner brackets
- Clamps
Follow these steps to attach the corners:
- Apply wood glue to each corner joint.
- Place a corner bracket at each joint.
- Use clamps to hold the frame tightly.
- Let the glue dry for at least one hour.
Securing The Frame To The Mirror
Once the corners are secure, it’s time to attach the frame to the mirror. Here’s what you need:
- Mirror adhesive
- Painter’s tape
Follow these steps to secure the frame:
- Apply mirror adhesive to the back of the frame.
- Carefully position the frame around the mirror.
- Use painter’s tape to hold it in place.
- Allow the adhesive to cure for at least 24 hours.
Double-check for any gaps. Fill them with additional adhesive if needed. Your beautifully framed mirror will enhance your bathroom’s look!
Finishing Touches
After framing your bathroom mirror, the fun begins. Finishing touches bring life to your creation. Choose colors and designs that match your bathroom style.
Painting Or Staining The Frame
Painting or staining enhances your frame’s beauty. Select colors that complement your bathroom decor.
- Paint: Use acrylic or chalk paint for a smooth finish.
- Stain: Choose wood stain for a natural look.
Follow these simple steps:
- Sand the frame lightly to prepare the surface.
- Apply primer if using paint.
- Use even strokes for painting or staining.
- Let it dry completely before applying a second coat.
Test the color on a small area first. This helps ensure satisfaction with your choice.
Adding Decorative Elements
Decorative elements personalize your mirror frame. Use items that reflect your style.
- Beads: Glue beads along the edges for a chic look.
- Rope: Wrap jute or twine for a rustic feel.
- Stickers: Use vinyl decals for a playful touch.
Consider these tips:
| Element | Style | Application |
|---|---|---|
| Beads | Elegant | Glue along edges |
| Rope | Rustic | Wrap around frame |
| Stickers | Playful | Adhere to frame |
Take your time to arrange elements. Ensure they create a cohesive look. Your mirror will be a stunning focal point.
Installation And Mounting
Installing and mounting your DIY framed bathroom mirror is crucial. Proper installation ensures that your mirror stays secure and enhances your bathroom’s aesthetics. Follow these steps for a smooth process.
Choosing The Right Mounting Technique
Selecting the best mounting method is essential for stability. Here are popular techniques:
- Wall Anchors: Use these for drywall support.
- Mirror Clips: These hold the mirror securely.
- Adhesive Strips: Ideal for lightweight mirrors.
Consider the weight and size of your mirror. Use appropriate hardware to prevent accidents.
Ensuring Stability And Safety
Safety comes first in mirror installation. Follow these tips:
- Check the wall type before mounting.
- Use a level to align the mirror.
- Mark positions for screws or anchors.
- Double-check all measurements.
Always secure the mirror to prevent falls. Use a friend for help during installation.
Remember: Proper installation enhances both safety and aesthetics.
Credit: ourfauxfarmhouse.com
Maintenance And Care
Proper maintenance ensures your framed bathroom mirror stays beautiful. Regular care keeps it free from damage and enhances its longevity. Follow these tips for effective maintenance.
Cleaning Tips For Framed Mirrors
Cleaning your framed mirror is essential for clarity. Use these simple tips:
- Use a soft, lint-free cloth.
- Mix equal parts of vinegar and water in a spray bottle.
- Lightly spray the solution on the cloth, not directly on the mirror.
- Wipe the mirror in circular motions.
- Dry with a clean cloth to avoid streaks.
Avoid harsh chemicals. They can damage the frame or mirror.
Minor Repairs And Adjustments
Sometimes, mirrors may need minor repairs. Here’s how to handle them:
- Frame Touch-Ups: Use matching paint for scratches.
- Loose Mirrors: Tighten screws or brackets carefully.
- Re-gluing: Use mirror adhesive for loose frame parts.
- Remove Dust: Dust the frame regularly to keep it clean.
These small tasks help maintain your mirror’s appearance and functionality.
Before And After: Transformation Impact
Framing a bathroom mirror can change the entire look of your space. The difference between a plain mirror and a beautifully framed one is striking. A simple DIY project can enhance style, add elegance, and create a welcoming atmosphere.
Many homeowners have transformed their bathrooms with framed mirrors. The visual impact of this project is significant. Let’s dive into some inspiring success stories.
Sharing Success Stories
Many DIY enthusiasts have shared their mirror framing experiences. Here are some notable transformations:
- Minimalist Chic: A homeowner used a simple wood frame. This created a clean and modern look.
- Rustic Retreat: A couple used reclaimed wood. Their mirror now adds warmth and character.
- Color Pop: A DIYer painted a bold frame. This brightened up a small, dark bathroom.
| Style | Materials Used | Effect |
|---|---|---|
| Minimalist Chic | Simple wood | Clean and modern |
| Rustic Retreat | Reclaimed wood | Warmth and character |
| Color Pop | Bold paint | Brightened small space |
Inspiration For Future Projects
Feeling inspired? Here are some ideas for your next DIY project:
- Experiment with different frame styles.
- Use mirrors of varying sizes for a gallery wall.
- Incorporate lighting around the framed mirror for added drama.
- Try using unusual materials like metal or tile.
Transforming a bathroom mirror is an exciting and rewarding project. It offers endless possibilities for creativity. Start planning your own mirror framing project today!

Credit: sawdustsisters.com
Frequently Asked Questions
Can I Frame My Bathroom Mirror?
Yes, you can frame your bathroom mirror. Choose a moisture-resistant frame to prevent damage. Ensure proper installation to maintain stability and safety. Framing can enhance your bathroom’s aesthetics and provide a stylish focal point. Consider DIY options or hire a professional for best results.
What Wood To Use To Frame A Bathroom Mirror?
Choose moisture-resistant wood for framing a bathroom mirror. Options include cedar, teak, or marine-grade plywood. These materials withstand humidity and prevent warping. Ensure proper sealing with paint or varnish for added protection. This helps maintain the frame’s durability and appearance over time.
How Do You Make A Homemade Mirror Frame?
To make a homemade mirror frame, choose your materials like wood or metal. Measure the mirror and cut the frame pieces. Assemble the frame using glue or nails. Paint or stain for a desired finish. Finally, attach the mirror securely and hang it up.
Enjoy your new decor!
How Do You Glue A Bathroom Mirror To A Frame?
To glue a bathroom mirror to a frame, clean both surfaces thoroughly. Apply mirror adhesive evenly on the frame. Press the mirror firmly into place. Use painter’s tape to hold it while drying. Allow the adhesive to cure according to the manufacturer’s instructions for best results.
Conclusion
Framing a bathroom mirror is a rewarding DIY project. It enhances your space and adds a personal touch. With the right materials and a bit of creativity, anyone can achieve a stunning result. Embrace this project to elevate your bathroom’s style and enjoy the satisfaction of your handiwork every day.