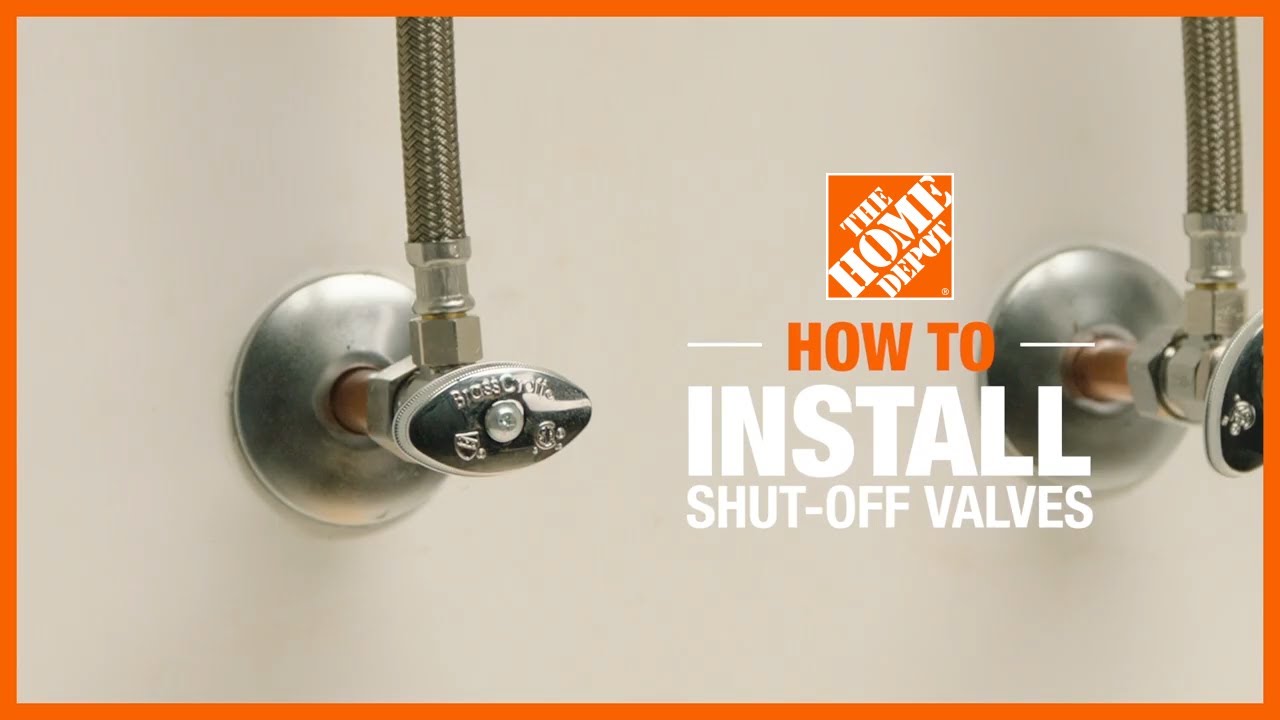
A bathroom sink shut-off valve controls water flow to the sink. It allows for easy repairs without shutting off the entire water supply.
Understanding the function of a bathroom sink shut-off valve is essential for any homeowner. This small but vital component enables quick access to water control, especially during plumbing repairs. Knowing its location and operation can save time and prevent water damage.
Many homeowners overlook this valve, which can lead to unnecessary hassle during emergencies. Regular maintenance checks on the valve can ensure it operates smoothly. Familiarizing yourself with this essential feature can empower you to handle minor plumbing issues efficiently. Overall, a well-functioning shut-off valve is crucial for maintaining a functional and safe bathroom environment.
Credit: www.reddit.com
Introduction To Bathroom Sink Shut Off Valves
Bathroom sink shut off valves play a crucial role in home plumbing. They allow you to easily control water flow to the sink. Knowing about these valves can help prevent water damage. Understanding their function can save you time and money.
Identifying Your Valve Type
There are several types of shut off valves. Each type serves the same purpose but operates differently. Here are the most common types:
- Compression Valve: This is the most common type. It uses a rubber washer to control water flow.
- Ball Valve: This type has a spherical disk inside. It offers quick on/off functionality.
- Gate Valve: This valve uses a gate to block water flow. It is not ideal for frequent use.
- Angle Valve: Often used in tight spaces. It connects pipes at a 90-degree angle.
Importance Of A Leak-proof System
A leak-proof system is essential for every bathroom. Even a small leak can cause significant damage over time. Here are some reasons why it matters:
- Prevents Water Damage: A leak can lead to mold and mildew.
- Reduces Water Bills: Water waste increases your monthly costs.
- Maintains Home Value: A well-maintained plumbing system boosts property value.
- Enhances Safety: Prevents slips and falls caused by wet floors.
Regular checks on your bathroom sink shut off valves ensure safety. Proper maintenance keeps your home dry and safe.
Common Reasons For Leaks
Leaks can cause serious damage in your bathroom. Understanding the common reasons for leaks helps in quick repairs. The bathroom sink shut-off valve is a crucial component. Here are the main causes of leaks.
Wear And Tear
Over time, components may wear down. This leads to leaks. Here are some key points:
- Old rubber washers can crack.
- Metal parts may corrode.
- Frequent use causes stress on the valve.
Regular inspections help catch wear early. Replace worn parts promptly to avoid leaks.
Improper Installation
Incorrect installation can lead to leaks. A few common mistakes include:
- Not tightening connections enough.
- Using the wrong type of fittings.
- Incorrect placement of the valve.
Always follow installation guidelines. This ensures a secure fit. Seek professional help if unsure.
Types Of Shut Off Valves
Understanding the different types of shut off valves is essential. These valves control water flow to your bathroom sink. Each type has unique features and benefits.
Compression Valves
Compression valves are commonly used in bathroom sinks. They operate by compressing a rubber washer against the valve seat. This action stops water flow effectively.
- Pros:
- Easy to install
- Affordable
- Cons:
- May wear out over time
- Less durable than other types
Ball Valves
Ball valves feature a spherical disc that controls flow. They provide a reliable seal and quick operation. These valves are great for higher water pressure.
- Pros:
- Durable and long-lasting
- Fast operation
- Cons:
- Higher initial cost
- Requires more space for installation
Gate Valves
Gate valves control water flow through a sliding gate. They are best for on/off control but not for throttling. These valves can be used in various plumbing applications.
- Pros:
- Excellent for full flow
- Minimal pressure drop
- Cons:
- Slow operation
- Can become difficult to turn
| Valve Type | Pros | Cons |
|---|---|---|
| Compression | Easy to install, Affordable | May wear out, Less durable |
| Ball | Durable, Fast operation | Higher cost, Requires space |
| Gate | Excellent flow, Minimal drop | Slow, Can be difficult |
Step-by-step Leak Prevention
Preventing leaks in your bathroom sink is crucial. Small leaks can cause big problems. Follow these steps to keep your sink safe.
Regular Inspections
Check your bathroom sink regularly. Early detection can save you money.
- Look for water stains under the sink.
- Inspect the shut-off valve for rust or corrosion.
- Check for dampness around pipes.
Schedule inspections every six months. Use a flashlight for better visibility.
Proper Maintenance Techniques
Good maintenance helps prevent leaks. Follow these simple tips:
- Keep the area around the sink clean.
- Wipe down the sink and pipes regularly.
- Ensure the shut-off valve is easy to access.
Use a cloth to dry any spills. Tighten loose connections as needed.
Replacing Old Valves
Old valves can lead to leaks. Replace them to ensure safety.
| Signs of Old Valves | Actions |
|---|---|
| Frequent leaks | Replace the valve immediately. |
| Visible rust | Install a new valve. |
| Difficulty turning | Consider a replacement. |
Choose high-quality valves for replacements. Consult a professional if unsure.
Tools And Materials Needed
Working on your bathroom sink shut-off valve requires the right tools and materials. Having the correct items makes the job easier and faster. Below, find a list of essential tools and recommended materials to get started.
Essential Tools
- Adjustable Wrench: For loosening and tightening nuts.
- Screwdriver: Needed for screws on the valve.
- Pliers: Useful for gripping and turning.
- Bucket: To catch any water spills.
- Towels: For drying any leaks.
Recommended Materials
| Material | Purpose |
|---|---|
| New Shut-off Valve | Replaces the old, faulty valve. |
| Pipe Tape | Seals connections to prevent leaks. |
| Washers | Provides a tight seal on connections. |
| Thread Sealant | Enhances leak prevention. |
Gather these items before starting your project. This preparation ensures a smooth installation or repair of your bathroom sink shut-off valve.

Credit: www.youtube.com
Diy Leak Repair Guide
Leaky bathroom sinks can be a hassle. They waste water and can cause damage. Fixing a leak is easier than you think. This guide will help you repair your bathroom sink shut-off valve.
Shutting Off The Water Supply
Before starting any repair, shut off the water supply. Follow these steps:
- Locate the water shut-off valve under your sink.
- Turn the valve clockwise to close it.
- Open the faucet to release any remaining water.
This helps prevent any spills during the repair process.
Removing The Old Valve
Next, remove the old valve. Here’s how:
- Use a wrench to loosen the nut on the valve.
- Carefully disconnect the water line.
- Remove the old valve from the pipe.
Check for any signs of rust or corrosion.
Installing The New Valve
Now, it’s time to install the new valve. Follow these simple steps:
- Position the new valve onto the pipe.
- Tighten the nut securely with a wrench.
- Reconnect the water line to the new valve.
Make sure everything is tight to prevent future leaks.
Finally, turn on the water supply and check for leaks. Enjoy your leak-free bathroom sink!
When To Call A Professional
Knowing when to call a professional for your bathroom sink shut-off valve is crucial. Some issues can be managed by homeowners. Others require expert help to avoid further damage.
Recognizing Complex Issues
Some problems with shut-off valves can be tricky. Here are signs that indicate a professional is needed:
- Severe Leaks: Water pooling around the valve.
- Rust or Corrosion: Visible rust on the valve surface.
- Low Water Pressure: Noticeable drop in water flow.
- Unusual Noises: Sounds like hissing or banging.
These signs often hint at deeper plumbing issues. Avoid DIY fixes in these situations.
Benefits Of Professional Intervention
Hiring a professional for your bathroom sink shut-off valve comes with many advantages:
| Benefit | Description |
|---|---|
| Expert Knowledge | Professionals understand complex plumbing systems. |
| Proper Tools | Experts have the right tools for any job. |
| Time-Saving | Professionals complete tasks more quickly. |
| Long-Term Solutions | Expert repairs last longer than DIY fixes. |
Investing in professional help can save money in the long run. Avoid temporary fixes that might lead to bigger problems.
Credit: www.reddit.com
Maintaining Your Shut Off Valve
Regular maintenance of your bathroom sink shut off valve is crucial. It helps prevent leaks and keeps your plumbing in good shape. Simple checks can save you from big problems later.
Routine Checks
Performing routine checks on your shut off valve ensures it works properly. Follow these easy steps:
- Inspect the valve for rust or corrosion.
- Turn the valve on and off to test its function.
- Look for leaks around the valve and pipes.
- Check the water pressure after turning the valve.
Make these checks part of your monthly home maintenance. Doing this can catch issues early.
Avoiding Common Mistakes
Many people make mistakes while maintaining their shut off valves. Avoid these common pitfalls:
- Not turning the valve regularly. This can cause it to seize.
- Using excessive force when turning the valve. This can damage it.
- Ignoring leaks. Even small leaks can cause big problems.
- Neglecting to clean the area around the valve. Dirt can cause issues.
Stay mindful of these tips. A little care goes a long way in preventing issues.
Frequently Asked Questions
Where Is Shut Off Valve For Bathroom Sink?
The shut-off valve for a bathroom sink is typically located under the sink. Look for two valves connected to the water supply lines. One controls the hot water, and the other controls the cold water. Turn them clockwise to shut off the water flow.
Do Bathroom Sinks Have Shut Off Valves?
Yes, bathroom sinks typically have shut-off valves. These valves control water flow and allow for easy repairs. They are usually located under the sink. Regularly check them for leaks to ensure proper functioning and maintenance.
How Do You Fix A Stuck Shut Off Valve Under A Sink?
To fix a stuck shut-off valve under a sink, first turn off the main water supply. Use penetrating oil on the valve. Let it sit for a few minutes. Gently turn the valve handle back and forth. If it remains stuck, consider replacing the valve.
How To Turn Off Water Under A Bathroom Sink?
To turn off water under a bathroom sink, locate the shut-off valves. These are usually found on the wall or under the sink. Turn the valves clockwise until they stop. This will shut off the water supply to the sink effectively.
Conclusion
Understanding your bathroom sink shut-off valve is essential for home maintenance. Regular checks can prevent leaks and costly repairs. Knowing how to operate it empowers you in emergencies. Keep your plumbing system efficient and functional. With a little attention, you can ensure your bathroom remains a safe and comfortable space.