To replace a bathroom faucet, first, turn off the water supply and disconnect the old faucet. Next, install the new faucet by following the manufacturer’s instructions.
Replacing a bathroom faucet can seem daunting, but with the right tools and guidance, it’s manageable. This task can refresh your bathroom’s look and improve functionality. Whether you’re dealing with a leaky faucet or simply want an upgrade, knowing the steps makes the process smoother.
Basic tools, such as an adjustable wrench and screwdriver, will help you complete the job efficiently. Proper preparation ensures fewer headaches and a quicker installation. Once you complete the replacement, you’ll enjoy a more efficient and aesthetically pleasing faucet that enhances your bathroom experience. Let’s dive into the detailed steps for a successful faucet replacement.
Introduction To Faucet Replacement
Replacing a bathroom faucet can seem daunting. With the right guidance, it becomes an easy DIY task. This guide will help you understand why you should replace your faucet and what you need to get started.
Why Replace Your Bathroom Faucet?
There are several reasons to consider replacing your bathroom faucet:
- Leaking Faucet: A constant drip wastes water.
- Outdated Style: An old faucet can ruin your bathroom’s look.
- Low Water Pressure: A new faucet may improve flow.
- Mineral Build-Up: Old faucets may suffer from corrosion.
Upgrading can enhance both functionality and aesthetics. A new faucet can add value to your home.
Tools And Materials Needed
Gather these tools and materials before starting:
| Tools | Materials |
|---|---|
|
|
Having everything ready saves time. You can focus on the installation process.
:max_bytes(150000):strip_icc()/how-to-replace-a-bathtub-faucet-5210836-10-6825223c1e75442187d5ab09690510d4.jpg)
Credit: www.thespruce.com
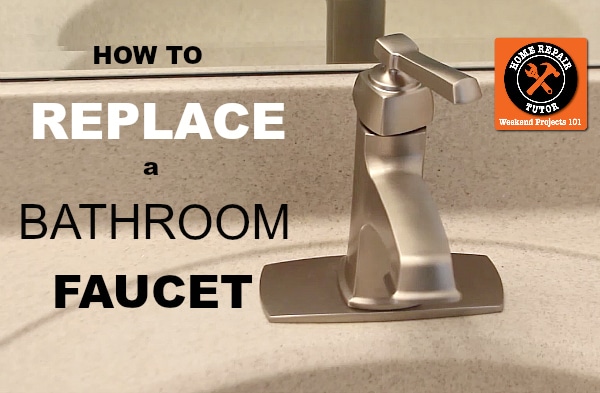
Choosing The Right Faucet
Choosing the right faucet can transform your bathroom. A well-selected faucet enhances style and functionality. Consider style, type, and compatibility with your sink.
Types Of Faucets
Faucets come in various types. Each type serves different needs and styles. Here are some popular options:
- Single-handle faucets: Easy to use and control water temperature.
- Double-handle faucets: Offers precise control over hot and cold water.
- Wall-mounted faucets: Saves counter space and adds a modern touch.
- Pull-down faucets: Great for versatility in washing and rinsing.
- Touchless faucets: Provides hands-free operation for hygiene.
Matching Faucet To Sink Configuration
Ensure your faucet matches your sink configuration. The configuration determines the type of faucet you need. Here’s a quick guide:
| Sink Type | Recommended Faucet Type |
|---|---|
| Single hole | Single-handle faucet |
| Widespread | Double-handle faucet |
| Center set | Single or double-handle faucet |
| Wall-mounted | Wall-mounted faucet |
Check the number of holes in your sink. This will guide your faucet choice. Measure the distance between the holes for proper fitting.
Preparation Steps
Replacing a bathroom faucet requires careful preparation. Follow these essential steps to ensure a smooth process. Gather the necessary tools and materials first. This will save time and prevent interruptions.
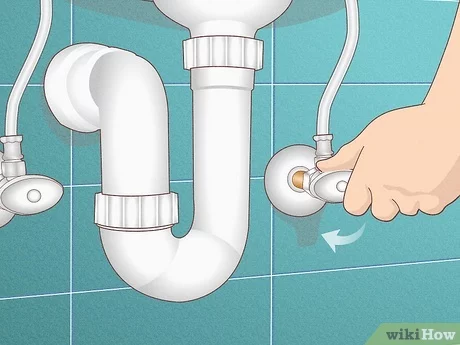
Shutting Off The Water Supply
Before starting, shut off the water supply. This prevents leaks and water damage. Follow these steps:
- Locate the shut-off valves under the sink.
- Turn the valves clockwise to close them.
- Open the faucet to drain any remaining water.
Check for any leaks. Make sure all water is stopped before proceeding.
Removing Old Faucet
Now, it’s time to remove the old faucet. Gather tools like a wrench and screwdriver. Follow these steps:
- Disconnect the water supply lines.
- Use a wrench to loosen the nuts.
- Carefully lift the old faucet out.
Be cautious with the sink’s surface. Avoid scratching or damaging it.
Clean the area where the old faucet was. This prepares for the new installation.
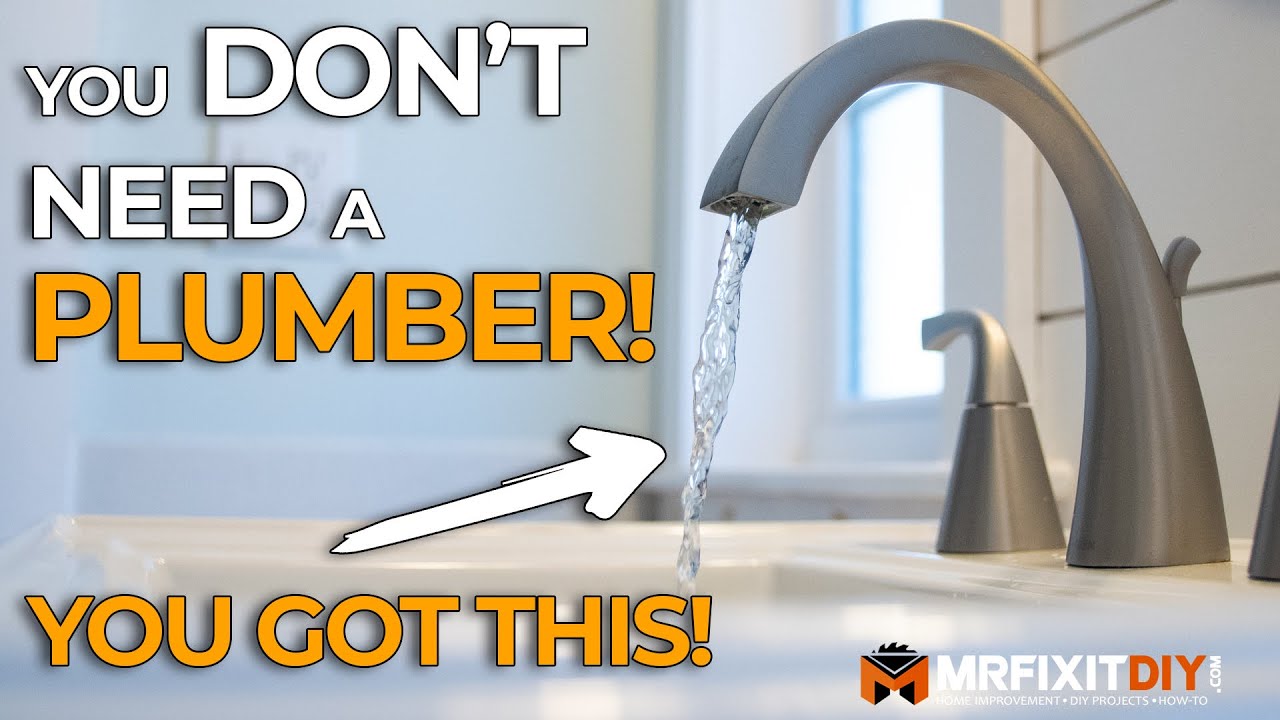
Installing The New Faucet
Installing a new bathroom faucet can be simple. Follow these steps for a smooth installation. This guide covers assembling faucet components and securing the faucet in place.
Assembling Faucet Components
Gather all necessary components before starting. Here’s what you need:
- New faucet
- Supply lines
- Plumber’s tape
- Adjustable wrench
- Screwdriver
Start by assembling the faucet components:
- Attach the mounting plate to the faucet body.
- Insert the faucet handles into their slots.
- Secure the handles with screws provided.
- Connect the water supply lines to the faucet’s base.
Wrap the threads of the supply lines with plumber’s tape. This ensures a tight seal and prevents leaks.
Securing The Faucet In Place
Now it’s time to secure your faucet. Follow these steps:
- Position the faucet over the sink’s holes.
- Align the mounting plate with the sink.
- Use the screws to tighten the faucet down.
- Ensure the faucet is level before fully tightening.
Use an adjustable wrench to tighten the nuts under the sink. Ensure they are snug but do not over-tighten. This can damage the components.
After securing, check all connections. Turn on the water supply and test the faucet. Look for any leaks. Fix any issues immediately.
With these steps, your new faucet is ready for use. Enjoy your updated bathroom!
Connecting The Water Supply Lines
Connecting the water supply lines is a crucial step in replacing a bathroom faucet. Proper connections ensure that water flows correctly and prevent leaks. Follow these steps to make the process smooth and efficient.
Types Of Supply Lines
Different types of supply lines exist. Choose the one that fits your faucet and plumbing.
| Type | Material | Features |
|---|---|---|
| Flexible Hoses | Rubber or PVC | Easy to install, bends easily |
| Metal Braided Hoses | Stainless Steel | Durable, resistant to kinking |
| Plastic Pipes | Polypropylene | Lightweight, corrosion-resistant |
Ensuring A Leak-free Connection
A leak-free connection is vital for a functioning faucet. Follow these steps to ensure a secure fit:
- Check the threads on the supply lines and faucet.
- Use new washers for added security.
- Hand-tighten the connections first.
- Use a wrench for a final snug fit.
- Turn on the water supply and check for leaks.
Always monitor the connections for a few days. This will catch any leaks early. If you see water, tighten the connections again.
Final Checks And Cleanup
After replacing your bathroom faucet, it’s time for final checks and cleanup. This ensures everything works perfectly and your workspace is tidy. Let’s dive into the important steps to finish the job right.
Testing The Faucet
Testing your new faucet is crucial. Follow these steps:
- Turn on the water supply.
- Open the faucet handle.
- Check for leaks under the sink.
- Test both hot and cold water flow.
Look for any drips or unusual sounds. If everything is dry and quiet, you did a great job!
Cleaning The Workspace
Cleaning up is just as important. Follow these simple steps:
- Gather tools and materials used.
- Wipe down surfaces with a damp cloth.
- Remove any old parts or debris.
- Dispose of waste properly.
Make sure the area looks neat. This will help prevent accidents later.
| Step | Action |
|---|---|
| 1 | Turn on water supply |
| 2 | Check for leaks |
| 3 | Test water flow |
| 4 | Gather tools |
| 5 | Clean surfaces |
Troubleshooting Common Issues
Replacing your bathroom faucet can be rewarding. Yet, common issues may arise. Knowing how to fix these problems is essential. This section covers two major issues: leaky connections and low water pressure.
Leaky Connections
Leaks can waste water and create mold. Here’s how to identify and fix them:
- Check all connections for moisture.
- Examine the supply lines for cracks.
- Inspect the faucet base for leaks.
To fix a leaky connection:
- Turn off the water supply.
- Use a wrench to tighten connections.
- Replace damaged washers or O-rings.
Remember to:
- Use plumber’s tape on threaded connections.
- Check for leaks after reassembly.
Low Water Pressure
Low water pressure can frustrate daily tasks. It may have several causes:
- Clogged aerator
- Blocked supply lines
- Issues with the main water supply
To diagnose and fix low water pressure:
- Check the aerator for sediment.
- Unscrew and clean the aerator screen.
- Inspect supply lines for kinks or clogs.
Other solutions include:
- Ensure the main valve is fully open.
- Contact a plumber for persistent issues.
Credit: homerepairtutor.com
Maintaining Your New Faucet
After installing your new faucet, proper maintenance is essential. Regular care keeps it functioning well. It also extends its lifespan. Follow these guidelines to ensure your faucet stays in top shape.
Regular Cleaning Tips
Keeping your faucet clean prevents buildup and damage. Use these simple cleaning tips:
- Use a soft cloth to wipe the faucet regularly.
- Avoid abrasive cleaners that can scratch the surface.
- Mix equal parts of vinegar and water for tough stains.
- Rinse thoroughly with warm water after cleaning.
- Dry the faucet with a clean towel.
Check for mineral deposits, especially in hard water areas. Use a vinegar soak to remove these deposits. Just let the faucet parts sit in vinegar for a few hours.
When To Replace Parts
Faucet parts wear out over time. Knowing when to replace them saves money and hassle. Here are signs to watch for:
| Sign | Action |
|---|---|
| Leaking water | Replace washers or O-rings. |
| Low water pressure | Check and replace aerators. |
| Unusual noises | Inspect and replace cartridges. |
| Rust or corrosion | Consider replacing the entire faucet. |
Regularly inspect your faucet. Early detection of issues prevents costly repairs. Keep spare parts on hand for quick fixes.
Credit: m.youtube.com
Frequently Asked Questions
Is It Easy To Replace A Bathroom Faucet?
Replacing a bathroom faucet is generally easy for most DIYers. Basic tools and a few steps are all you need. Follow instructions carefully for a smooth installation. Expect to spend about an hour on the project. Proper preparation makes the process quicker and hassle-free.
How Do You Remove An Existing Bathroom Faucet?
To remove an existing bathroom faucet, first turn off the water supply. Disconnect the water lines using a wrench. Loosen the mounting nuts beneath the sink. Lift the faucet out carefully. Clean the area before installing a new faucet. Always follow manufacturer instructions for best results.
Can I Replace My Own Faucet?
Yes, you can replace your own faucet. Gather the necessary tools and follow instructions carefully. Turn off the water supply before starting. Remove the old faucet and install the new one. Ensure all connections are secure to prevent leaks. Enjoy your upgraded faucet!
Can I Replace A Bathroom Faucet Without Replacing The Drain?
Yes, you can replace a bathroom faucet without changing the drain. The faucet and drain operate independently. Ensure all connections are properly sealed to avoid leaks. This allows you to upgrade your faucet while keeping the existing drain intact, saving time and money.
Conclusion
Replacing a bathroom faucet can be a straightforward DIY project. With the right tools and steps, you can enhance your bathroom’s functionality and style. Remember to turn off the water supply first. Enjoy your new faucet and the satisfaction of completing a home improvement task.
Happy renovating!