To remove a bathroom sink drain, first, disconnect the plumbing under the sink. Then, unscrew the drain assembly using a wrench or pliers.
Removing a bathroom sink drain can seem daunting, but with the right tools and steps, it’s manageable. This task is essential for repairs, clogs, or replacements. Before starting, gather tools like a wrench, bucket, and plumber’s putty. Make sure to turn off the water supply to avoid any spills.
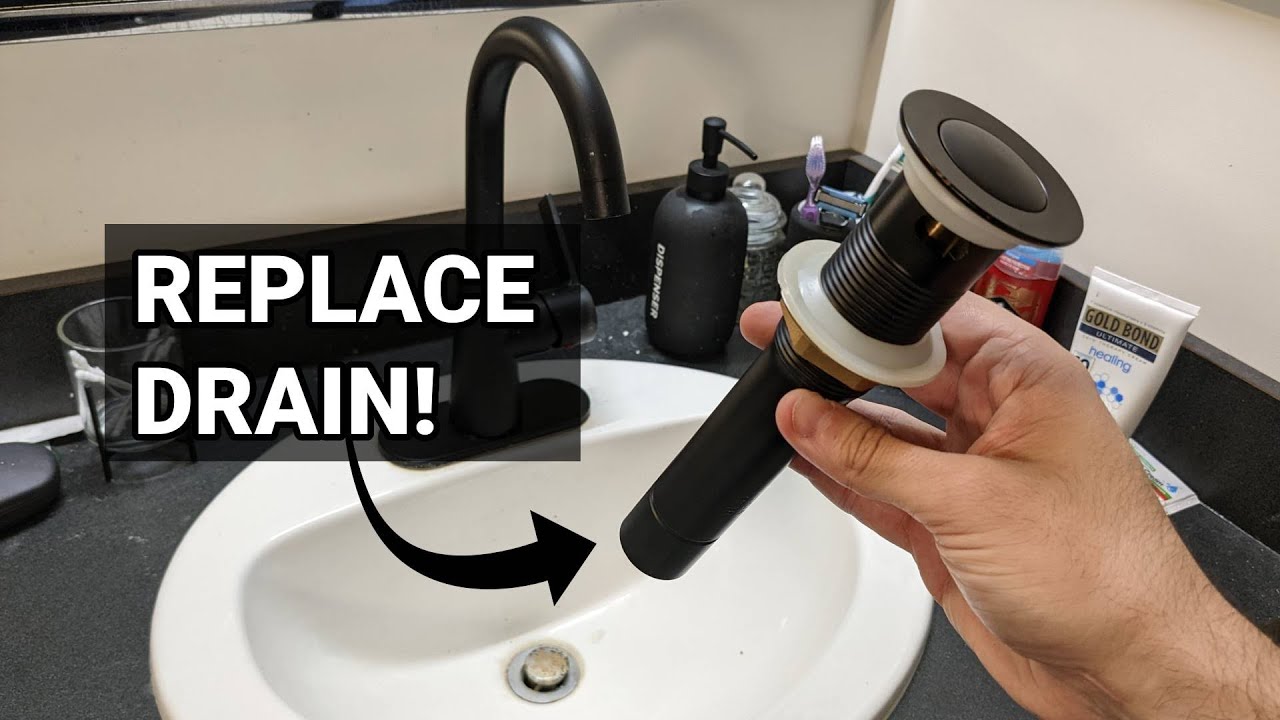
Understanding the components of your sink drain is crucial. Familiarize yourself with the pop-up assembly, nut, and tailpiece. With a bit of preparation, you can tackle this project efficiently. Follow these straightforward steps to ensure a smooth removal process, leaving you ready for the next phase of your plumbing task.
Tools And Materials Needed
Removing a bathroom sink drain requires the right tools and materials. Using proper tools makes the job easier and quicker. Below is a detailed list to help you prepare.
List Of Tools
| Tool | Purpose |
|---|---|
| Wrench | Tightens or loosens the drain assembly. |
| Screwdriver | Removes screws from the drain cover. |
| Bucket | Catches any water that may spill. |
| Pliers | Helps grip and turn tight fittings. |
| Drain Snake | Clears any clogs in the drain. |
Safety Gear
- Gloves: Protect your hands from sharp edges.
- Safety Goggles: Shield your eyes from debris.
- Face Mask: Prevent inhalation of dust or chemicals.

Credit: www.youtube.com
Shutting Off The Water Supply
Before removing your bathroom sink drain, shut off the water supply. This step prevents leaks and spills. Follow the steps below to do this safely.
Locating The Valves
Finding the water supply valves is simple. They are usually under the sink.
- Look for two pipes connected to the sink.
- These pipes lead to the hot and cold water supplies.
- Each pipe has a valve that controls the flow.
How To Turn Off
Turning off the valves is easy. Follow these steps:
- Turn the valve handles clockwise.
- Do this for both hot and cold water valves.
- Check for any leaks around the pipes.
After shutting off the valves, run the faucet. This step helps drain any remaining water.
Now you are ready to remove the bathroom sink drain. Working with a dry sink is much easier.
Removing The P-trap
The P-Trap is a key part of your sink’s plumbing. It prevents bad odors from entering your bathroom. Removing it can help clear clogs or fix leaks. Follow these steps to safely remove the P-Trap.
Locating The P-trap
The P-Trap is usually found beneath the sink. It has a U-shape and connects the sink drain to the waste pipe.
- Look under the sink.
- Identify the curved pipe section.
- Check for any visible leaks or clogs.
Step-by-step Removal
Follow these simple steps to remove the P-Trap:
- Gather tools: You will need a bucket, wrench, and towel.
- Place the bucket: Put it under the P-Trap to catch water.
- Loosen the nuts: Use the wrench to unscrew the nuts on both sides.
- Remove the P-Trap: Carefully pull it away from the sink and waste pipe.
- Check for debris: Clean the trap before reinstallation.
Follow these steps carefully. This ensures safe removal of the P-Trap.
Detaching The Drain Flange
Detaching the drain flange is a crucial step in removing your bathroom sink drain. This part connects the sink to the plumbing system. Knowing how to detach it properly will save time and effort. Follow the steps below to make this task easier.
Tools Required
- Adjustable Wrench – For loosening bolts.
- Screwdriver – To remove screws.
- Pliers – Helpful for gripping small parts.
- Bucket – To catch any water or debris.
- Rags – For cleaning up spills.
- Sealant Tape – For future reinstallation.
Technique
Follow these steps to detach the drain flange:
- Turn off the water supply.
- Remove the pop-up stopper if your sink has one.
- Place a bucket under the sink to catch any water.
- Locate the drain flange’s retaining nut below the sink.
- Use the adjustable wrench to loosen the nut.
- Carefully detach the flange from the sink.
- Clean the area and remove old sealant.
After removing the drain flange, inspect it for damage. Replace it if necessary.
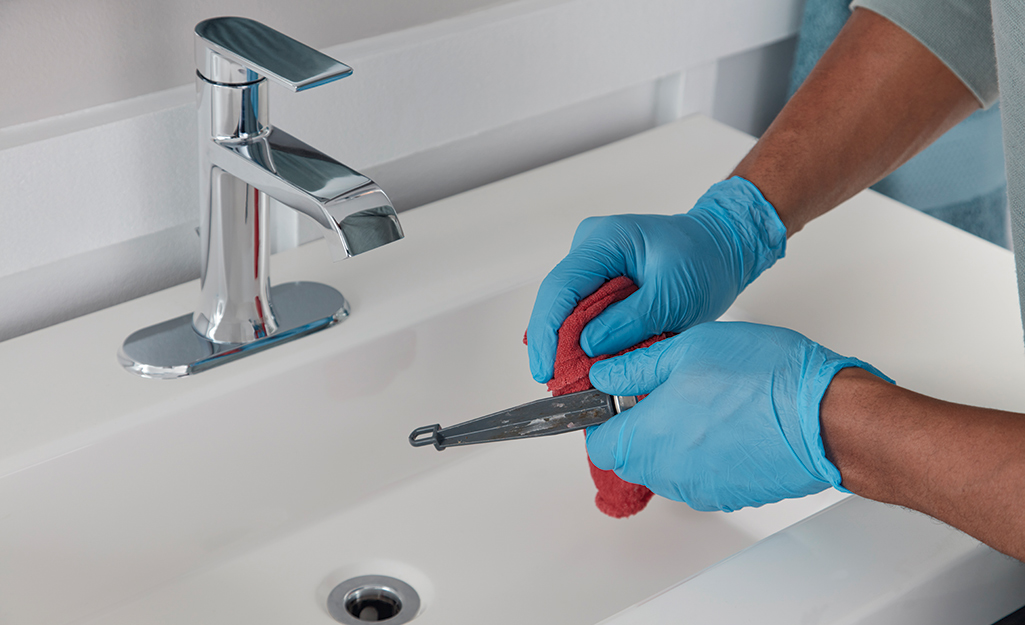
Cleaning The Area
Cleaning the area around the bathroom sink is essential. It prepares the space for removing the drain. A clean workspace helps avoid mess and accidents.
Removing Residue
Start by clearing the sink area. Remove any items on the counter. This includes soap, toothbrushes, and towels.
- Wipe down the sink with a damp cloth.
- Use a mild cleaner to eliminate grime.
- Focus on the drain and surrounding areas.
Check for any residue or buildup. Here’s how to remove it:
- Apply a mixture of baking soda and vinegar.
- Let it sit for 10 minutes.
- Rinse with hot water.
This method helps break down any stubborn residue. Ensure the area is dry before moving to the next step.
Preparation For New Drain
Once the area is clean, prepare for the new drain. Gather all necessary tools:
| Tool | Purpose |
|---|---|
| Pipe Wrench | Loosen and remove the old drain |
| Plumber’s Putty | Seal around the new drain |
| Screwdriver | Tighten screws on the new drain |
Ensure you have everything ready. This makes the installation smooth. A clean area ensures you can work efficiently.
Installing The New Drain
After removing the old drain, it’s time to install the new one. This process ensures your sink functions properly. Follow these steps for a smooth installation.
Positioning The New Drain
Start by positioning the new drain correctly. Ensure it fits snugly into the sink. Follow these steps:
- Clean the area around the sink hole.
- Apply plumber’s putty around the drain flange.
- Insert the drain into the sink hole.
- Press down firmly to create a seal.
Check for any gaps. A tight fit prevents leaks. Wipe off any excess putty for a clean look.
Securing In Place
Next, secure the new drain in place. This step is crucial for stability. Follow these instructions:
- From below the sink, attach the drain locknut.
- Hand-tighten the nut; do not overtighten.
- Connect the drain pipe to the new drain.
- Ensure all connections are tight.
Test the new drain by running water. Check for leaks. Proper installation ensures your sink works effectively.
Reconnecting The P-trap And Water Supply
After removing the bathroom sink drain, reconnecting the P-trap and water supply is essential. Follow these simple steps for a smooth reinstallation. Proper connections prevent leaks and ensure functionality.
Reattaching The P-trap
The P-trap is crucial for preventing sewer gases from entering your bathroom. Here’s how to reattach it:
- Align the P-trap with the sink drain.
- Slide the P-trap onto the drain tailpiece.
- Secure the connections tightly using your hands.
- Use a wrench for extra tightening, if necessary.
Check for any gaps. If any leaks occur, re-tighten the connections. A snug fit is essential for a leak-free seal.
Turning The Water Supply Back On
Once the P-trap is secured, it’s time to restore the water supply. Follow these steps:
- Locate the shut-off valve under the sink.
- Turn the valve counterclockwise to open it.
- Check for any leaks around the connections.
- If leaks appear, tighten the fittings again.
After turning on the water, run the faucet for a few seconds. This action helps to flush out any debris.
Monitor the sink for any signs of leaks. A properly connected P-trap and water supply will function effectively.
Credit: www.homedepot.com
Final Checks And Maintenance Tips
After removing the bathroom sink drain, conduct some final checks. Proper maintenance prevents future issues and prolongs the lifespan of your plumbing system. Follow these essential tips to keep everything running smoothly.
Leak Testing
Leak testing is crucial after reinstalling your sink drain. Follow these steps:
- Fill the sink with a few inches of water.
- Observe the drain area for any signs of leakage.
- Check the connections underneath the sink.
- Use a flashlight to inspect hard-to-see spots.
If you notice any leaks, tighten the connections. Use plumber’s tape for extra sealing. This simple test saves you from bigger problems later.
Regular Maintenance Advice
Regular maintenance keeps your sink in top shape. Follow these tips:
- Clean the drain: Remove hair and debris monthly.
- Flush with hot water: Do this weekly to prevent clogs.
- Use a drain strainer: This catches debris and prevents blockages.
- Avoid harsh chemicals: They can damage pipes over time.
Also, inspect the plumbing connections every few months. Tighten any loose fittings. Regular checks ensure your sink stays leak-free and functioning well.

Credit: diy.stackexchange.com
Frequently Asked Questions
How To Remove The Drain From A Bathroom Sink?
To remove the drain from a bathroom sink, first, disconnect the P-trap under the sink. Use a wrench to unscrew the drain flange from above. Carefully pull the drain out. Clean the area and check for any debris before installing a new drain if needed.
How Do You Unscrew Drain Cover In Bathroom Sink?
To unscrew a drain cover in your bathroom sink, locate the screws on the cover. Use a screwdriver to turn them counterclockwise. If the screws are stuck, apply a little penetrating oil. Once unscrewed, lift the cover off carefully. Clean any debris before reattaching.
How Do You Unscrew A Stuck Bathroom Sink Drain?
To unscrew a stuck bathroom sink drain, apply penetrating oil to the threads. Let it sit for 15 minutes. Use a pipe wrench or pliers for grip. Turn counterclockwise gently. Heat the drain with a hairdryer if it’s still stuck.
Repeat the process if necessary.
How Do You Remove A Sink Drain From The Bottom?
To remove a sink drain from the bottom, first, turn off the water supply. Unscrew the drain lock nut using a basin wrench. Carefully pull the drain out from the sink. Clean any remaining debris before installing a new drain or reassembling.
Conclusion
Removing a bathroom sink drain can seem daunting, but it’s manageable with the right steps. Always ensure you have the necessary tools ready. Remember to work carefully to avoid damage. Following these tips will make your plumbing tasks smoother. With practice, you’ll gain confidence in handling DIY plumbing projects.