To tile a bathroom wall, start by preparing the surface and gathering your materials. Next, apply adhesive and place the tiles, ensuring proper alignment.
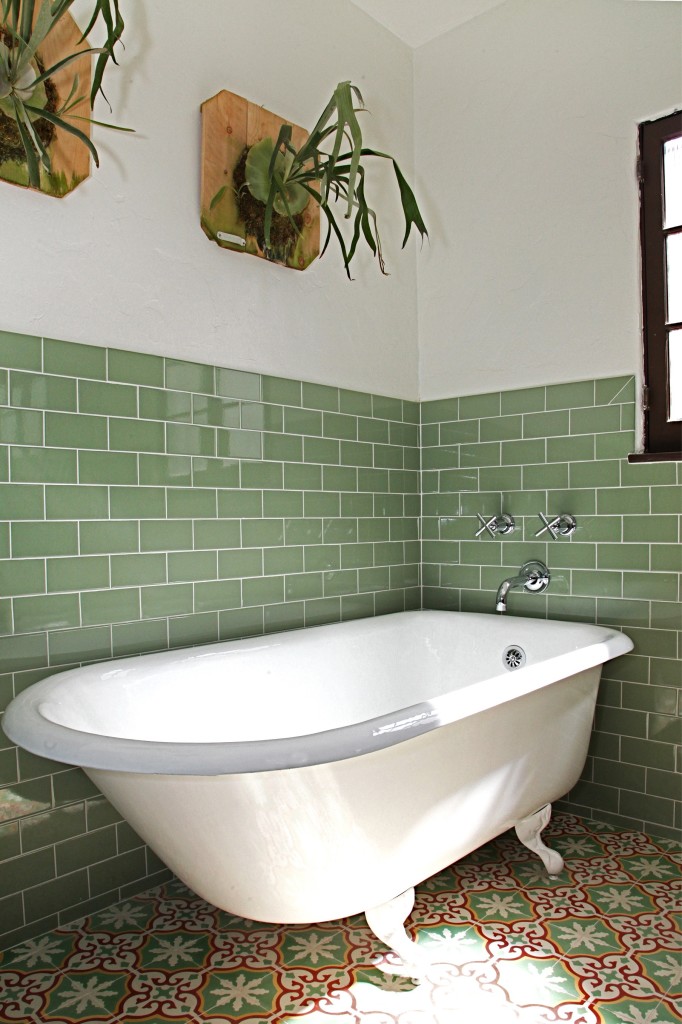
Tiling a bathroom wall can transform the space and add value to your home. This project not only enhances aesthetics but also protects the walls from moisture damage. Whether you choose ceramic, porcelain, or glass tiles, proper installation is key.
Preparation is crucial for a long-lasting finish. You’ll need essential tools like a tile cutter, adhesive, and grout. Understanding the layout and design will help you achieve a professional look. This guide will walk you through each step, ensuring your tiling project is successful and satisfying. Get ready to elevate your bathroom’s style!
Introduction To Tiling A Bathroom Wall
Tiling a bathroom wall enhances beauty and functionality. Proper tiling protects walls from moisture. It adds value to your home and creates a stunning look. This guide provides essential tips for successful tiling.
The Importance Of Proper Tiling
Proper tiling is crucial for several reasons:
- Water Resistance: Tiles keep moisture away from walls.
- Durability: Well-installed tiles last many years.
- Easy Maintenance: Tiles are easy to clean and maintain.
- Aesthetics: Tiling enhances the overall look of the bathroom.
Improper tiling can lead to cracks and mold. This can cause expensive repairs later. Always take your time and do it right.
Tools And Materials Needed
Gathering the right tools and materials is essential. Here’s a list:
| Tools | Materials |
|---|---|
| Tile Cutter | Tiles |
| Notched Trowel | Thin-set Mortar |
| Level | Grout |
| Sponge | Tile Spacers |
| Bucket | Sealer |
| Measuring Tape | Caulk |
Use quality materials for the best results. Invest in good tools for ease and accuracy. This will make the tiling process smoother.
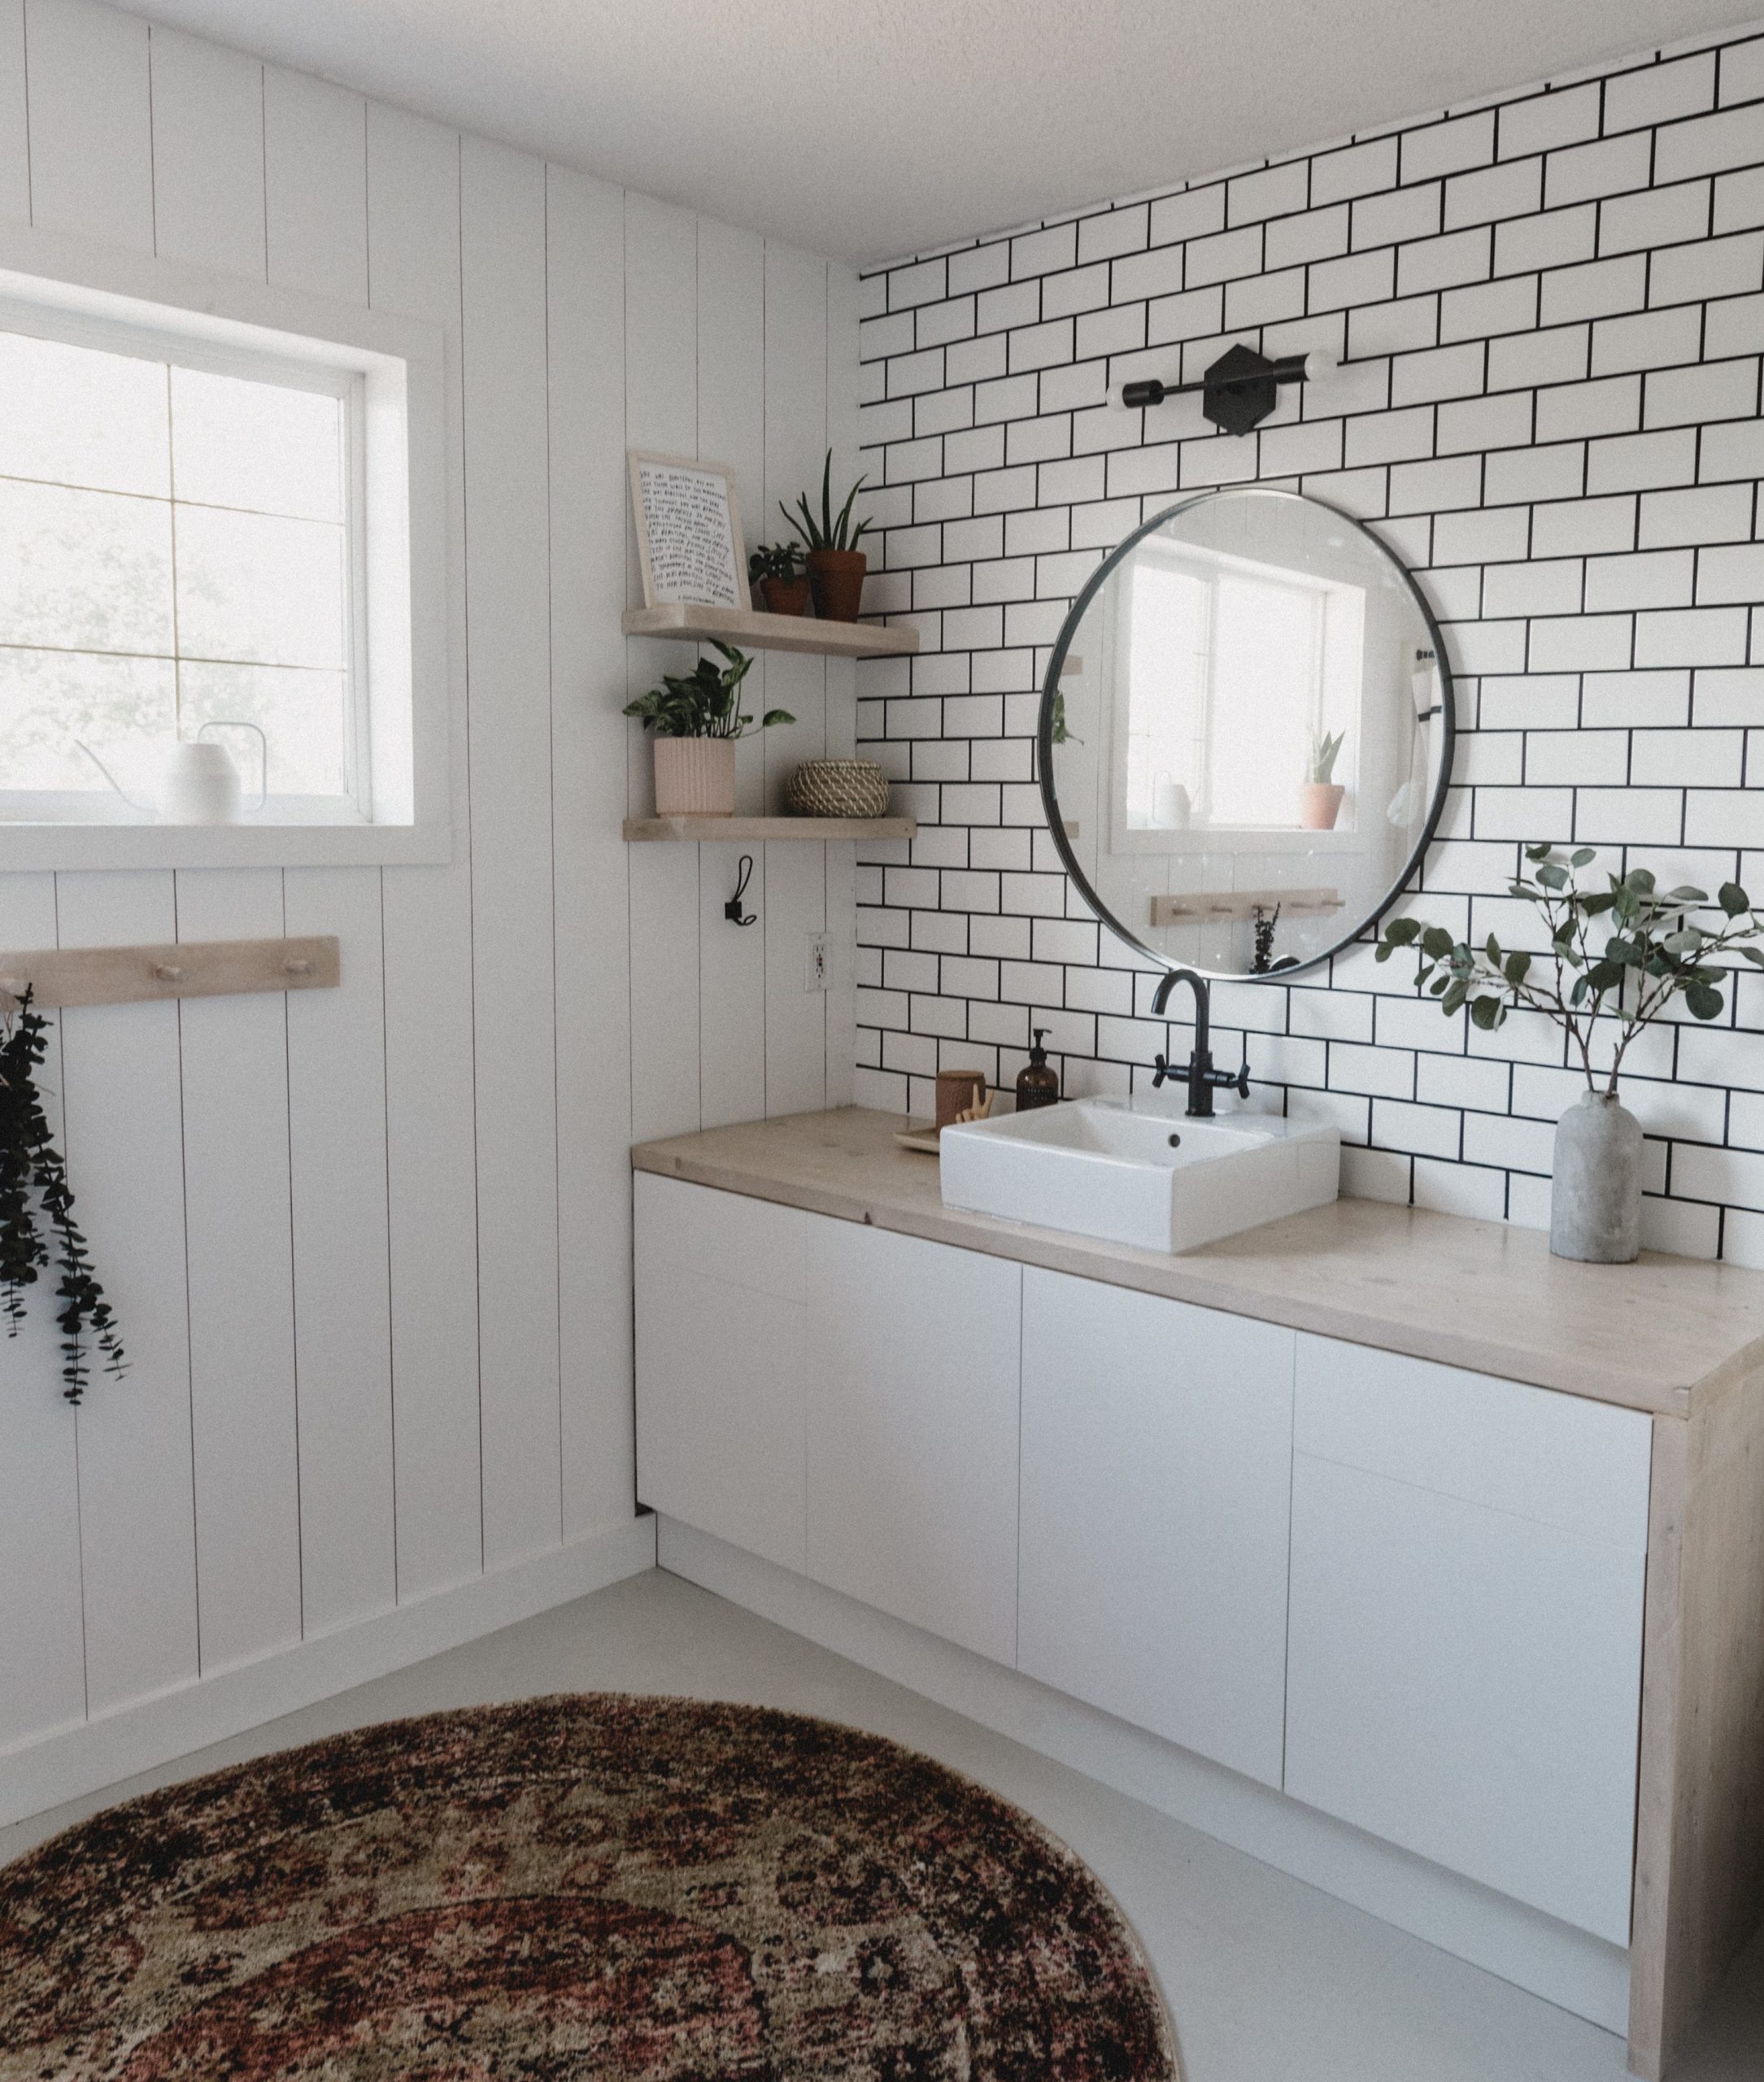
Credit: hd.jeffreycourt.com
Planning Your Project
Planning your tiling project is crucial for success. Proper planning saves time and reduces mistakes. Follow these steps to ensure a smooth tiling process.
Measuring The Space
Accurate measurements are essential for tiling a bathroom wall. Use a tape measure to determine the area. Follow these steps:
- Measure the height of the wall.
- Measure the width of the wall.
- Multiply height by width for total area.
Write down your measurements. Use them to calculate how many tiles you need. Always add 10% extra for mistakes and cuts.
Choosing The Right Tiles
Selecting the right tiles impacts the final look. Consider these factors:
- Material: Ceramic, porcelain, or glass.
- Size: Smaller tiles work well in tight spaces.
- Color: Light colors make the space feel larger.
- Pattern: Choose a style that fits your design.
Visit a local store or browse online. Touch the tiles to feel their texture. Compare options before making a decision.
Here’s a simple table to help you choose tile materials:
| Tile Type | Pros | Cons |
|---|---|---|
| Ceramic | Affordable, Easy to clean | Can chip easily |
| Porcelain | Durable, Water-resistant | Heavier, More expensive |
| Glass | Stylish, Reflective | Fragile, Requires special adhesive |
Choosing the right tiles makes your bathroom beautiful and functional.
Preparing The Wall
Preparing the wall is crucial for a successful tiling project. Proper preparation ensures your tiles adhere well and last long. Follow these steps to get your wall ready.
Cleaning The Surface
Start by cleaning the wall. A clean surface helps tiles stick better. Here are the steps:
- Remove old tiles and adhesive.
- Wipe the wall with a damp cloth.
- Use a mild detergent for stubborn stains.
- Allow the wall to dry completely.
Check for any damage on the wall. Repair holes and cracks with a patching compound. This ensures a smooth surface for tiling.
Applying A Waterproofing Membrane
Applying a waterproofing membrane protects your wall from moisture. This step is essential in bathrooms. Follow these steps:
- Select a quality waterproofing membrane.
- Use a paintbrush or roller for application.
- Apply the membrane evenly across the wall.
- Allow it to dry as per manufacturer instructions.
Check for any missed spots. Ensure the entire wall is covered. This will keep your bathroom safe from water damage.
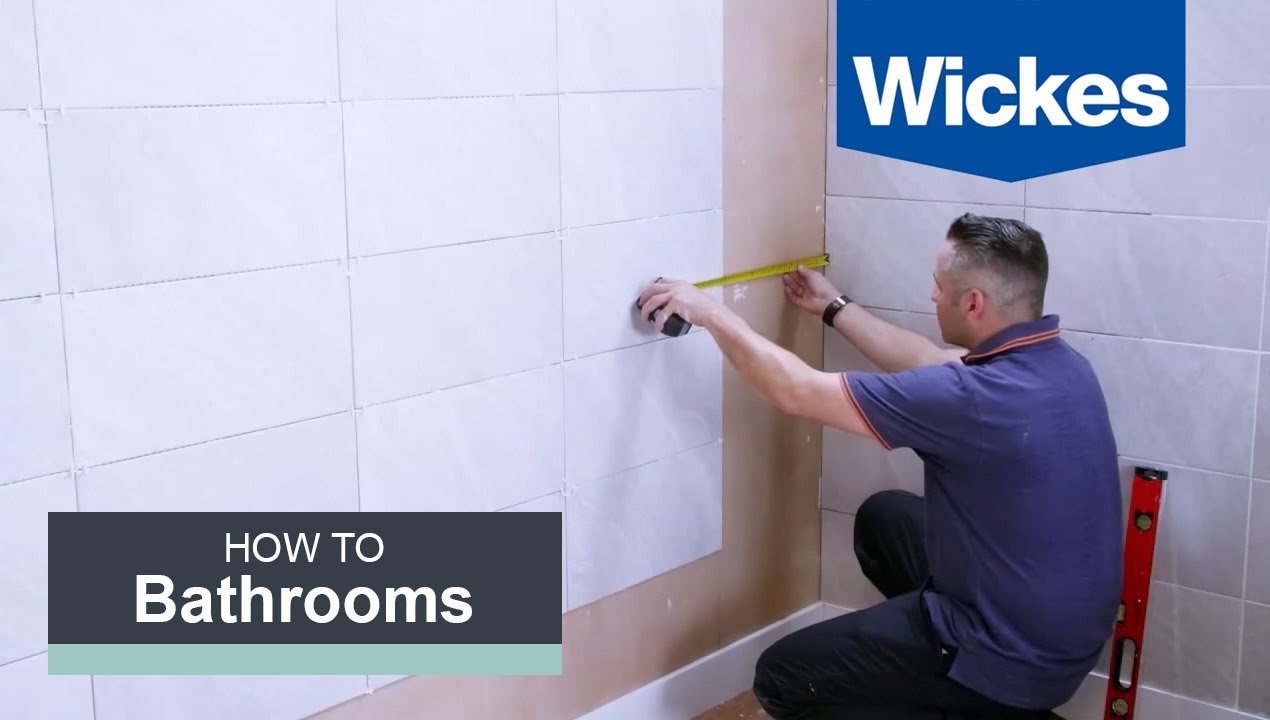
Credit: m.youtube.com
Laying Out Your Tile Pattern
Planning your tile layout is crucial for a stunning finish. A well-thought-out pattern enhances the overall look of your bathroom. Follow these simple steps to create a beautiful tiled wall.
Finding The Center Point
Start by determining the center of your wall. This helps create a balanced look. Here’s how to find it:
- Measure the width of the wall.
- Divide the total width by two.
- Mark the center point with a pencil.
This center point will guide your tile placement. It also allows you to adjust your layout, ensuring an even look on both sides.
Using Spacers For Even Gaps
Spacers ensure uniform gaps between tiles. Consistent spacing creates a professional appearance. Follow these steps:
- Choose the right size spacers for your tiles.
- Place spacers between each tile as you lay them.
- Check the alignment frequently.
Using spacers prevents tiles from shifting. Maintain even gaps for grout later. This simple tool makes a big difference in the final look.
Mixing And Applying The Adhesive
Mixing and applying adhesive is a crucial step in tiling a bathroom wall. The right adhesive ensures tiles stick securely and last long. Proper mixing creates a smooth, workable consistency. Follow these guidelines for a successful application.
Choosing The Right Adhesive
Selecting the appropriate adhesive is essential. Different tiles require different adhesives. Here’s a quick guide:
| Tile Type | Recommended Adhesive |
|---|---|
| Ceramic Tiles | Thin-set Mortar |
| Porcelain Tiles | Modified Thin-set Mortar |
| Glass Tiles | Specialized Glass Adhesive |
| Natural Stone Tiles | Latex-Modified Thin-set |
Check the manufacturer’s instructions. Ensure compatibility with your tiles. This helps avoid future issues.
Application Techniques
Applying adhesive requires skill and care. Follow these techniques for best results:
- Prepare the Surface: Clean the wall. Remove dust and debris.
- Mix the Adhesive: Follow the instructions on the package. Use a mixing paddle for even consistency.
- Use the Right Tools: A notched trowel is ideal. Choose the right notch size for your tiles.
- Apply the Adhesive: Spread the adhesive evenly on the wall. Use the flat side of the trowel first.
- Comb the Adhesive: Use the notched side to create ridges. This helps with tile placement.
- Set the Tiles: Press tiles firmly into the adhesive. Twist slightly to ensure a strong bond.
- Check Alignment: Use a level to ensure tiles are straight. Adjust as needed before the adhesive sets.
Keep a damp sponge handy. Clean excess adhesive from tile edges quickly. This prevents hard-to-remove residue.
Setting The Tiles
Setting tiles correctly is key to a beautiful bathroom wall. Follow these steps for a perfect finish. Start with a clean surface and proper tools.
Starting From The Center
Begin tiling from the center of the wall. This ensures symmetry and balance. Follow these steps:
- Find the center point of the wall.
- Mark a vertical line using a level.
- Mark a horizontal line across the center.
- Use these lines as your starting guide.
Apply adhesive in small sections. Press the first tile firmly against the wall. Align it with your center lines. Continue placing tiles outward from the center.
Cutting Tiles To Fit
Some tiles will need cutting for edges and corners. Follow these tips for precise cuts:
- Use a tile cutter or wet saw.
- Measure carefully before cutting.
- Wear safety goggles for protection.
- Smooth rough edges with a tile file.
Fit the cut tiles into place. Ensure a snug fit against the wall. Use spacers between tiles for even gaps. Allow adhesive to dry before grouting.
Grouting The Tiles
Grouting is a vital step in tiling. It fills spaces between tiles. This process adds strength and prevents moisture. Proper grouting enhances the beauty of your bathroom wall.
Selecting Grout
Choosing the right grout is important. Different types suit various needs. Here are some options:
| Grout Type | Best For | Features |
|---|---|---|
| Cement-based grout | Standard tiles | Strong and durable |
| Epoxy grout | High-moisture areas | Water-resistant and stain-proof |
| Furan grout | Industrial use | Highly chemical resistant |
Consider the tile type and bathroom conditions. Choose a grout that matches your needs. Color also matters. It can complement or contrast with tiles.
Filling The Gaps
Filling gaps requires precision. Follow these steps:
- Prepare the area: Clean the tiles and remove dust.
- Mix the grout: Follow the manufacturer’s instructions.
- Apply grout: Use a float to spread it evenly.
- Force grout into gaps: Ensure all gaps are filled.
- Remove excess grout: Use a damp sponge to wipe off.
Wait for the grout to set. This usually takes around 24 hours. After that, seal the grout to protect it. A good sealant prevents stains and moisture damage.
Finishing Touches And Maintenance
After tiling your bathroom wall, focus on the finishing touches and maintenance. Proper sealing and cleaning will keep your tiles looking new. Here’s how to take care of your beautiful tiles.
Sealing The Tiles
Sealing is crucial for protecting your tiles. It prevents stains and moisture damage. Follow these steps to seal your tiles:
- Choose the right sealant: Look for a tile-specific sealant.
- Clean the tiles: Ensure the surface is free from dirt.
- Apply the sealant: Use a sponge or brush for even coverage.
- Allow it to dry: Follow the manufacturer’s instructions.
- Reapply as needed: Every 1-3 years is recommended.
Sealing helps maintain the integrity of your tiles. It also enhances their appearance.
Cleaning And Upkeep
Regular cleaning keeps tiles looking fresh and vibrant. Follow these simple cleaning tips:
- Use a gentle cleaner: Avoid harsh chemicals.
- Wipe spills immediately: Prevent stains from setting.
- Use a soft cloth: Avoid scratching the surface.
Set up a cleaning schedule:
| Frequency | Task |
|---|---|
| Daily | Wipe down tiles with a damp cloth. |
| Weekly | Clean with a gentle cleaner. |
| Monthly | Check for any damages or cracks. |
Regular maintenance extends the life of your tiles. Enjoy your stunning bathroom walls for years!
Credit: www.angiesroost.com
Frequently Asked Questions
Where Do You Start Tiling A Bathroom Wall?
Start tiling a bathroom wall from the center. Mark a vertical line using a level. This ensures even tile placement on both sides. Begin with the first tile at the center, working outward. Use spacers for consistent grout lines. Check level frequently to maintain alignment throughout the process.
How Do You Prep A Bathroom Wall For Tile?
To prep a bathroom wall for tile, clean the surface thoroughly. Repair any damage and ensure it’s dry. Apply a moisture-resistant backer board or cement board. Use a level to check for evenness. Finally, apply a primer or thin-set mortar before tiling for better adhesion.
Can You Tile Directly On Drywall In Bathroom?
Tiling directly on drywall in a bathroom is not recommended. Drywall can absorb moisture, leading to mold and damage. Use cement board or other moisture-resistant materials for a durable, safe installation. Always prioritize water-resistant surfaces in wet areas to ensure longevity and performance.
Can You Tile A Bathroom Wall By Yourself?
Yes, you can tile a bathroom wall by yourself. Basic tools and materials are needed. Start with proper measurements and surface preparation. Follow a clear pattern and use adhesive correctly. Allow adequate drying time for the best results. Practice patience for a professional-looking finish.
Conclusion
Tiling a bathroom wall can transform your space beautifully. With the right tools and techniques, anyone can achieve a professional look. Remember to plan carefully and take your time. A well-tiled wall not only enhances aesthetics but also adds value to your home.
Enjoy your newly refreshed bathroom!